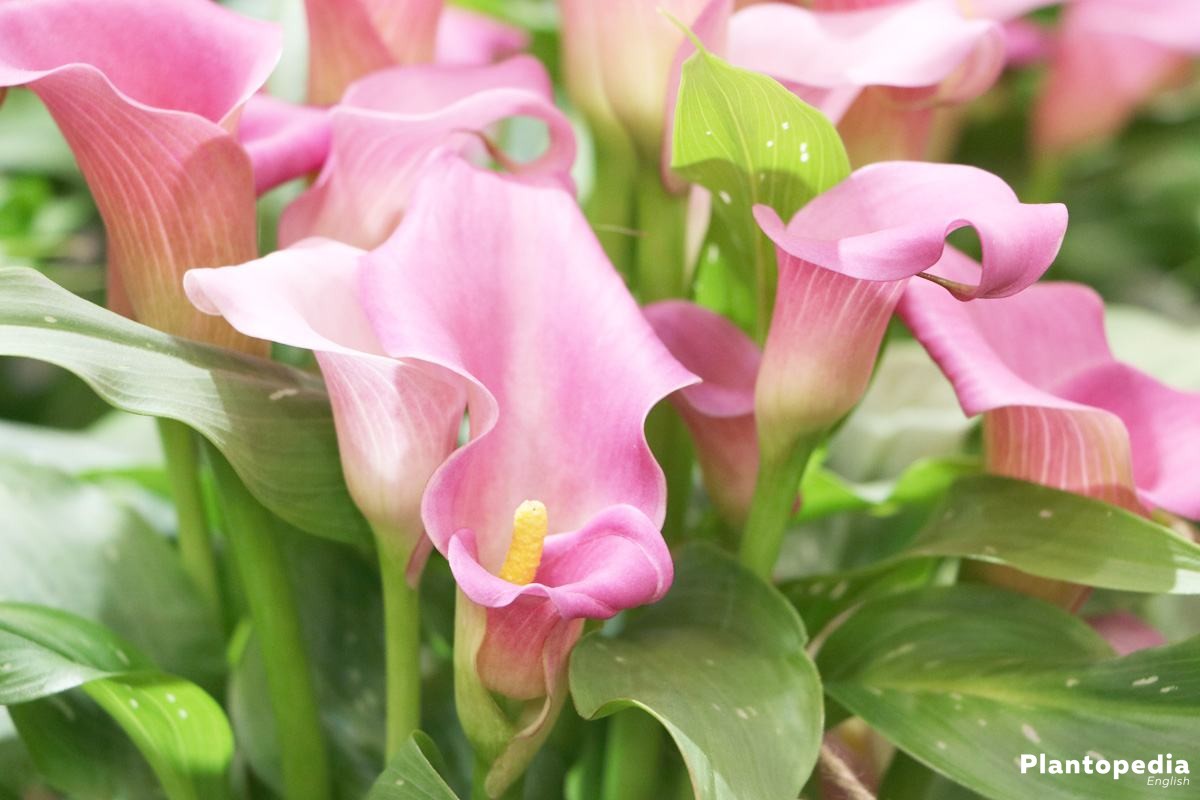
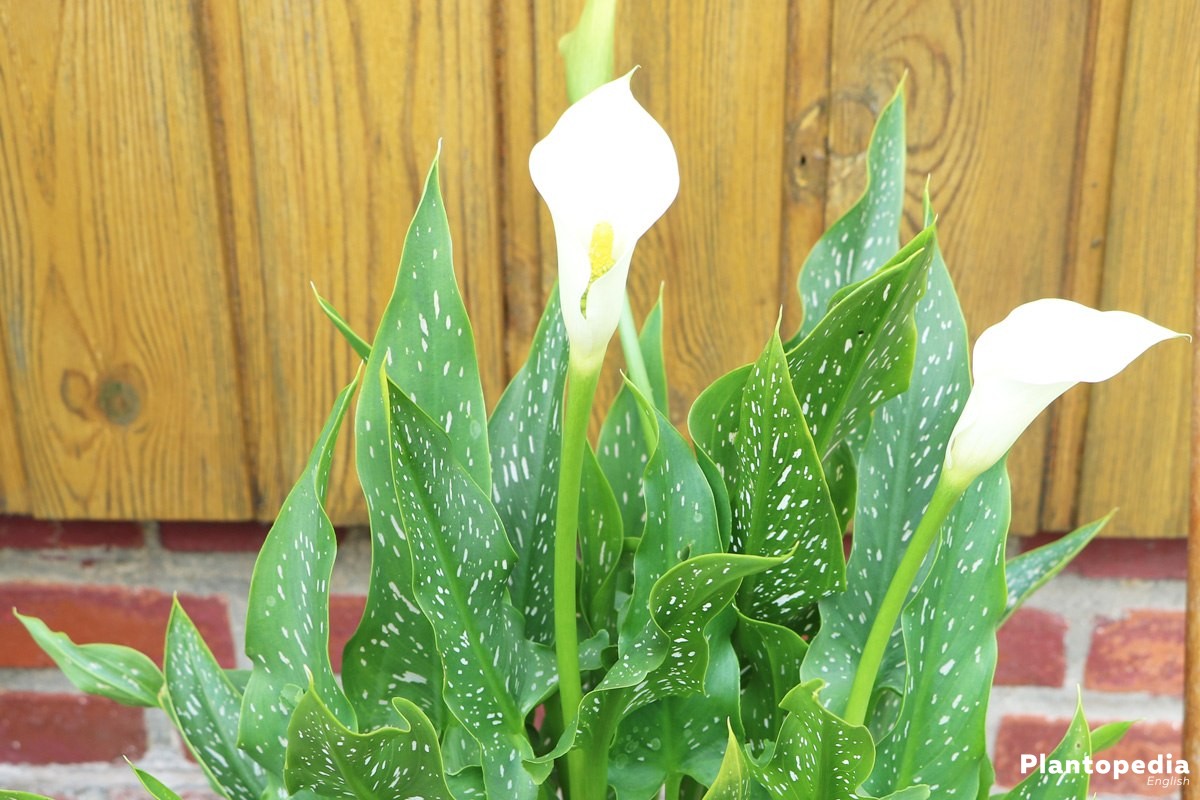
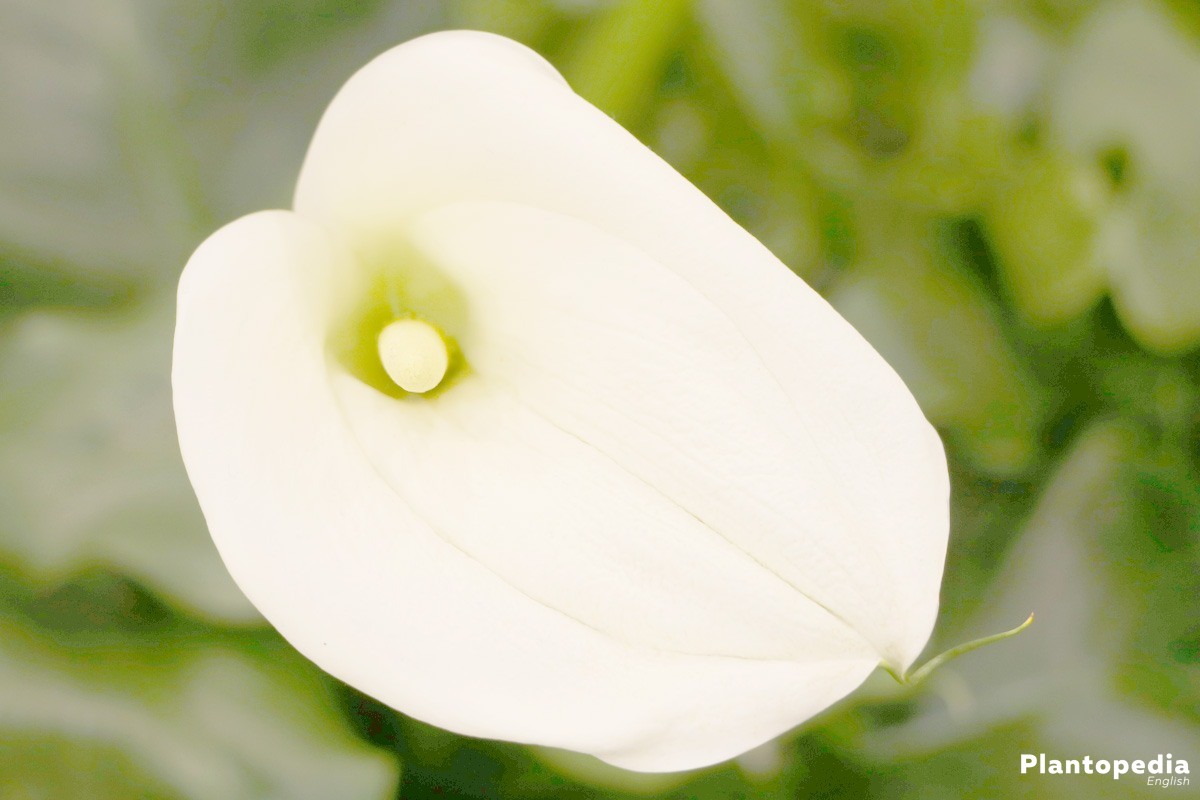
The Calla Lily originates in South African swamps, but should be cultivated in a room. You can also put this dainty beauty outside during the summer, if the warmth allows it. The calla lily also captivates everyone, if placed on your windowsill, with its yellow, lilac, white, or pink blossoms.
Plant Profile
Contents
- other names: Arum, Calla, Zantedeschia
- origin: dry swamps in South Africa
- height: up to 80 cm
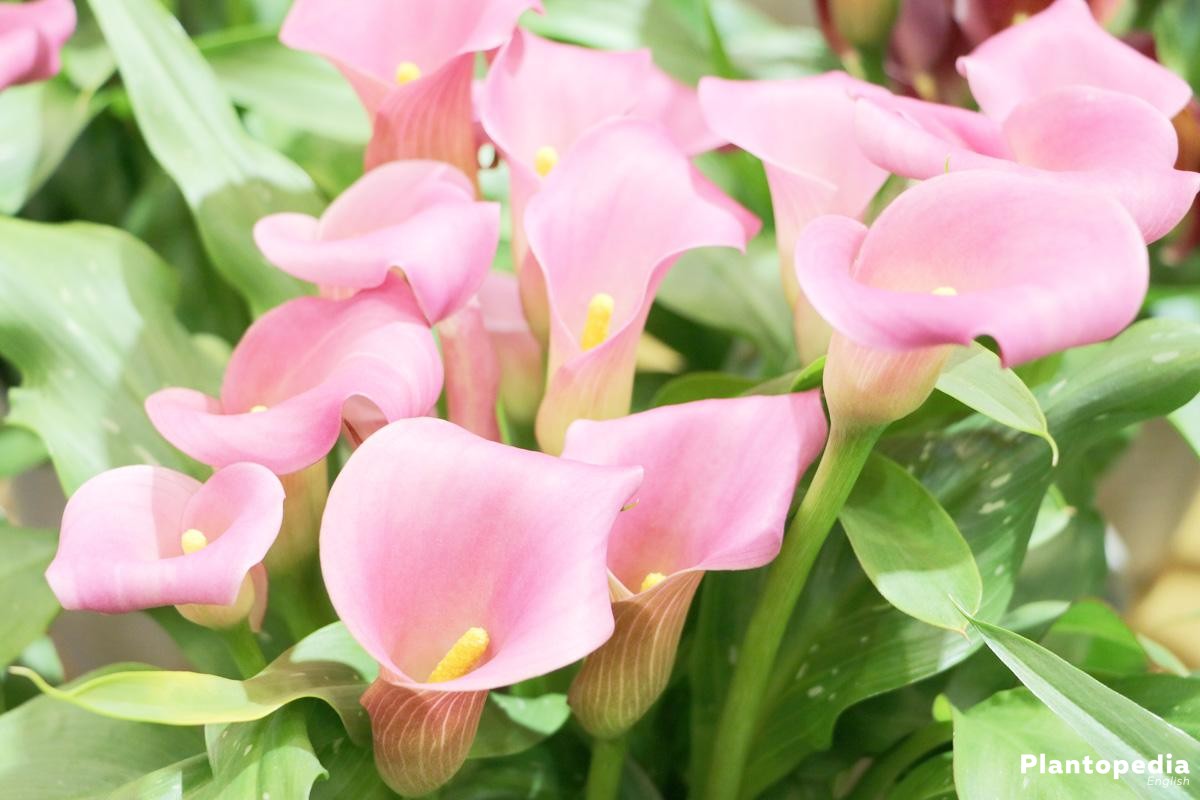
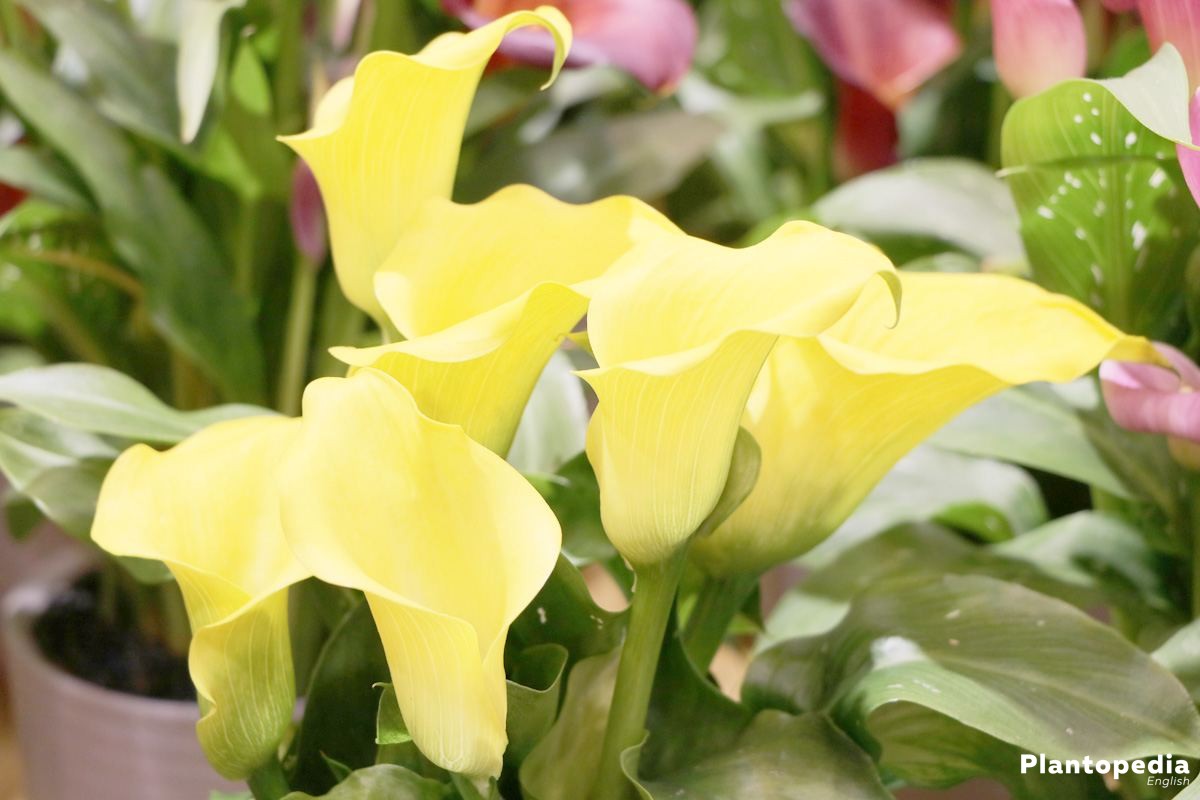
- cup-shaped blossoms
- colours: white, yellow, lilac, pink, or orange
- blossoms between May and August
- every single shoot ends in such a blossom
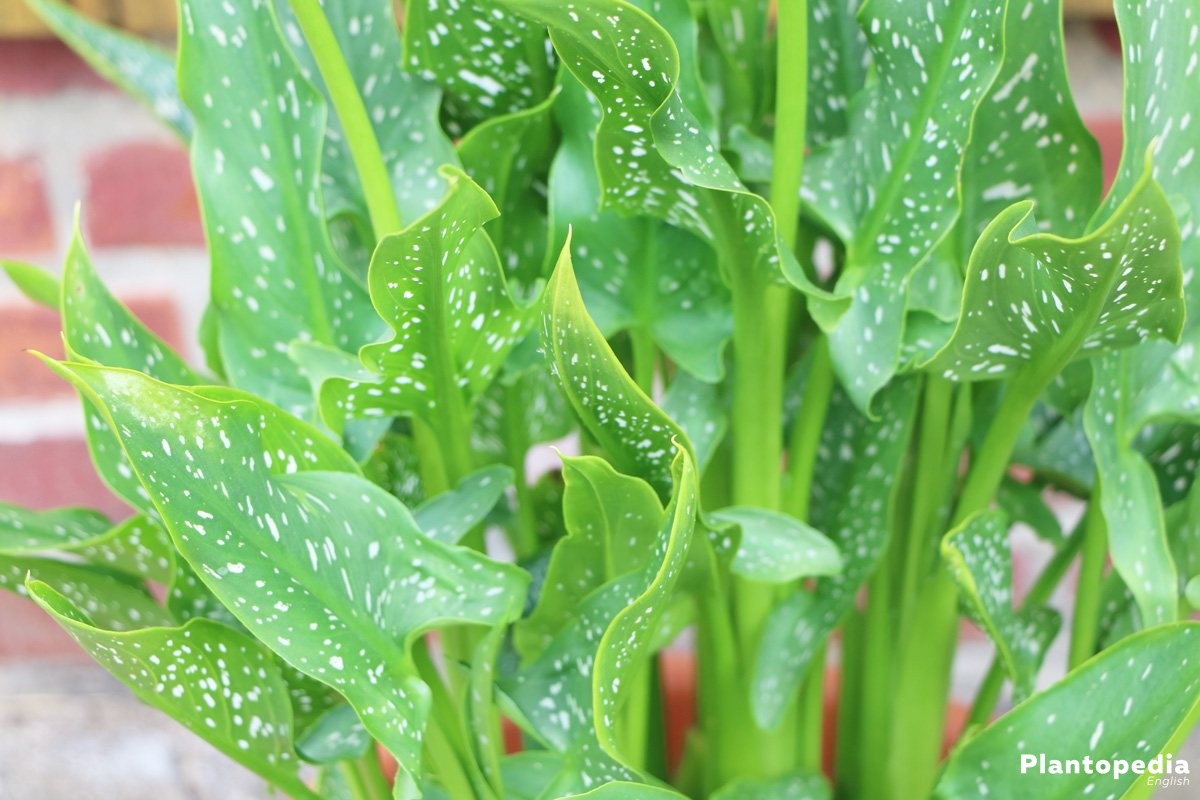
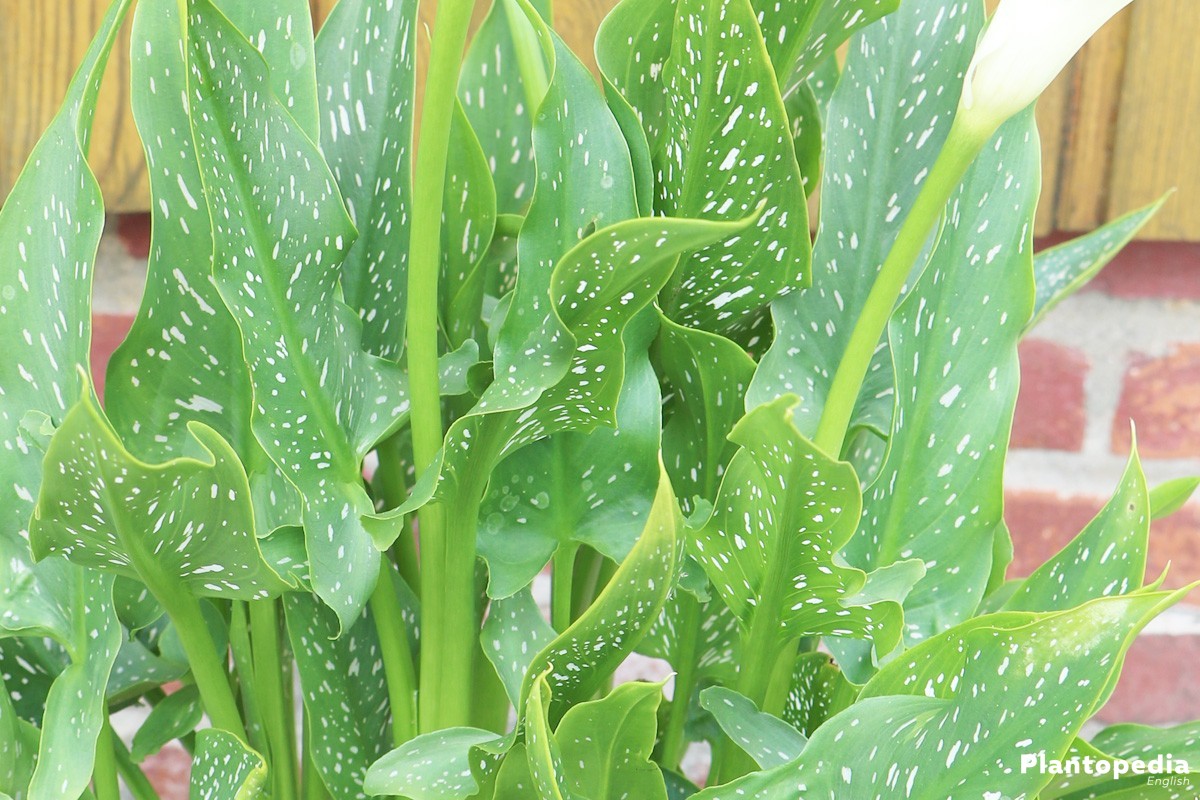
- dark-green, arrow-shaped leaves
- frame every single blossom
- predominantly house plant
- only cultivate in a pot
- poisonous and should be handled with care
The demanding Calla Lily originates in the dried-out swamps of South Africa. That’s why it also has a lot of location demands, once it arrives in our realms. It must not be outside during autumn and winter, but will find a better place on a windowsill, or table, in a room that’s not too warm. Here its delicate blossoms can impress in many colours. The plant is unfortunately very poisonous and should be handled with care.
This graceful plant really deserves its name, which can be translated with ‚beautiful‘ and is ascribed to the Grecian goddess Calliope. Calliope was also called extremely beautiful in Greek myths. Zantedeschia on the other hand, is dedicated to its discoverer, the Italian Giovanni Zantedeschi, who was a botanist during the 18th century and discovered this bulb plant. He brought it to Europe and cultivated it.
Care
Calla Lilies come with many demands, if you fulfil them, they will grow healthily and develop beautiful blossoms every year. Since it must not be outside during the winter, we recommend cultivation in a pot, that can be moved from location to location. You will have a lot of joy with this plant, if you follow the following care directions.
Location
The intense need for care of the Calla Lily already shows itself when choosing a good location. It’s the first of many demands.
The ideal location should therefore be chosen like this:
- bright and sunny
- no direct midday sun
- warm
- temperatures between 16 and 21 degrees celsius are desired
- no cold draught
- avoid cold win
- put it on your windowsill or table during the winter
- outside during the summer
- ideally in a terrace corner or shielded balcony
Soil Conditions
Since the origin of the calla lily lies in South African swamps, it does not have a lot of demands concerning soil conditions.
Substrate
If you want to choose the best substrate for your calla lily, then there are many possibilities. You can use customary and normal flower or pot soil. Garden soil is also no problem for the plant. The only thing that counts is the substrate’s freshness, since old soil can hold pathogen that the calla lily will not tolerate. We therefore recommend to use high-quality soil that has been newly bought. The soil should also always be lightly moist and not dry out.
Planting Time
Ideal planting time for the calla lily is spring, during March to May, if the plant should be kept outside during the summer. If you are planting a constant house plant, you can also plant Patch Planting
The Zantedeschia is not suitable for patch planting, since it’s not frost-resistant and has to be kept in a warm room during the colder months. There are some of the calla species that can be kept outside during the winter, but the calla lily is not one of them.
Pot Planting
The pot has to be prepared bevor planting, since the calla lily does not tolerate water-logging. To prevent this, you should apply a drainage made of stones and shards above the drain hole. Another layer of planting fleece should be applied above that layer. by doing this, not wet soil can clog the drain and water cannot be stored inside the soil.
After putting in the drainage, just follow these steps:
- fill half with the prepared soil
- insert the calla lily’s bulb five to seven centimetres deep
- fill with leftover soil and press lightly
- only put the pot outside, if it’s warm enough
- normally during the middle of May
Repotting
The calla lily should regularly be repotted. Even if it has not grown too big for its pot, you should at least exchange the substrate yearly, so that the plant will get its needed nutrients from a fresh source. Fresh soil also benefits the calla lily, it won’t be as prone to diseases.
During repotting, you should follow these steps:
- if needed, prepare new pot
- otherwise, remove the calla lily carefully from its old pot
- remove all old soil
- thoroughly clean the pot
- also wash off the plant’s bulb with lukewarm water
- zu lang gewordene Wurzeln abschneiden
- this serves rejuvenation
- after that follow the pot planting steps
It’s important that you wear gloves during all of these steps, so that the leaves’ poison will not transfer to your skin and cause nettle rash.
Watering
The calla liliy’s soil should always be moist, since it’s a swamp plant, that usually grows in dryer regions, but nevertheless needs moisture. A longer drought is something the plant will not tolerate. That’s why this graceful plant should be watered regularly, but not excessively. As soon as the soil’s surface is lightly dry, it’s ready for the next watering. In doing so, you should pay attention so that water-logging is prevented.
Fertiliser
To fertilise the calla lily during the spring and summer, the blossom time, you can regularly use liquid fertiliser. This should be added regularly to the water, about every two weeks. During autumn and winter, you can go without fertiliser.
Trimming
You can refrain from an elaborate trimming with the calla lily. Parts should only be trimmed when blossoms are withered and leaves start turning yellow. You can certainly cut ff a single blossom with its stem, to put it into a vase.
There are some points you should keep in mind when trimming the calla lily:
- dry, withered and yellowed parts are trimme
- stems should be cut closely above the root tube
- never remove green leaves
- in these parts the plant gets its power to bloom again
The calla lily should also be trimmed before winter rest. To do that, cut all plant parts above the bulb. Use clean and disinfected tools for every cut and wear gloves because of the plant’s poison.
Winter Rest
The Zantedeschia is not frost-resistant, that’s why it should be kept inside during the winter, if it not already stays indoors the whole year round. If the plants have been patch planted, which we do not recommend with the calla lilies, you have to dig out the bulb during the autumn. If it’s a pot plant, it can stay in the pot and should be carried inside.
During the winter rest, the following things should be kept in mind:
- remove all withered and yellowed plant parts
- the bulb can overwinter in a cool room at ca. 10 degrees celsius
- the room should also be dry and dar
- lay down the bulbs, so that they have enough space
- you can put dry turf, or wood shavings inside the intermediate spaces
- the pot plant can also overwinter inside this room
- make sure that the earth is not dried, once you carry it into the room
If you have your plant in a pot, it can bloom well into autumn and not all leaves have to yellow. After that, the pot can be kept in a bright, dry and cool location, for example your windowsill in your bedroom or a hallway. Direct sunlight should be avoided.
After Winter Rest
In January, the dug out bulbs can be put back into a pot filled with soil and put into a bright, cool location. Bulbs that have spent their winter rest in a pot have to carefully be accustomed to warmer temperatures again. Plants now have to be slowly watered and familiarised with higher temperatures. You can also start to fertilise regularly again, but not too much. During May the calla lilies can be put back outside onto your balcony, or terrace.

Breeding
Since calla lilies are bulb plants, breeding via division, or seeding is possible.
Seeding
Seeding calla lilies can be quite a tedious process, because even though plants might have sprouted, it usually takes many years until they bloom for the first time. That’s why we usually don’t recommend breeding by seeding.
Division
The calla lily can be bred, like all bulb plants, by division. During its growth time, the mother bulb will develop smaller bulbs around itself that can be used. While repotting the decorative plant during spring, you can also breed it. Bulbs that have been dug out during the autumn have to be divided at this point.
The division of the small bulbs from the mother bulb should be carried out with a sharp and clean knife. After that the small bulbs can be planted, just like the main plant.
Watch out! Poisonous
The calla lily is unfortunately poisonous and should only be touched with gloves, it’s not only dangerous to get plant parts into your mouth. Irritations occur even if you touch it with a small part of your skin. The Zantedeschia releases excess water via its leaves during the blooming period.
- try not to Touch the poisonous water
- leads to nettle rash
- which shows itself as a reddened rash
- if you keep the plant in an especially bright spot, the poisonous substance will be reinforced
- the nettle rash will be stronger then
- that’s why you shouldn’t let children or pets in its proximity
If you have small children or free-roaming pets as part of your household, you should renounce from cultivating the calla lily, out of health reasons. If you still want one, you have to choose a location that cannot be reached by children or pets, so that they won’t touch it.
Diseases
The calla lily is, sadly, quite prone to numerous diseases, which can also lead to a lot of damage if not treated. One of the main causes is too much moisture inside the soil or on the plant. It can also become diseased if you use bad, or old soil.
Fungus, Rot, Viruses, or Bacteria
If you have spotted one, or even more diseases on your decorative plant, you have to act quickly. House remedies normally won’t work, this means that you have to get your remedies from a store.
You should also do this:
- treat it with special remedies from the store as specified by the manufacturer
- remove all affected plant parts
- remove the plant from its pot
- completely remove old soil
- clean pot well
- ideally, also with remedies from a store
- soil can be disposed of in your domestic waste and should not be used again
If the plant has not recovered after a few weeks, you should let it go and dispose of it. That’s also the case, if you spot rot on the bulb while removing it from the pot. In this case you can immediately dispose of it, trying to rescue the plant won’t work.
Pests
The calla lily can also be infested by pests, this usually happens when the plant spends its winter rest in a pot. At this point most pests will settle on the leftover leaves.
Greenflies and Spider Mites
If you recognise that your plant has been infested by spider mites, or greenflies during its winter rest, you can first of all spray the plant with a mixture of dish soap and water. If this won’t help, you have to use insecticides. You should also cut off all affected plant parts. A pest infestation can be treated well and you are usually able to save the calla lily.