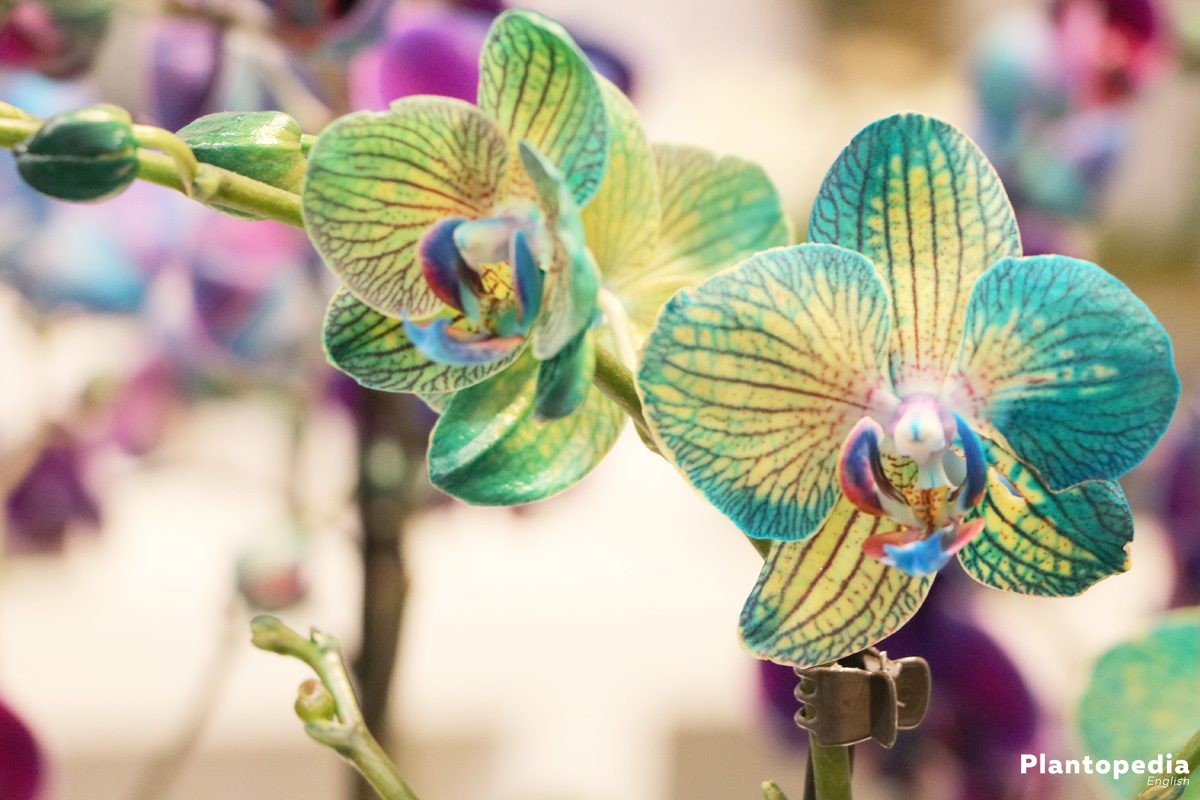
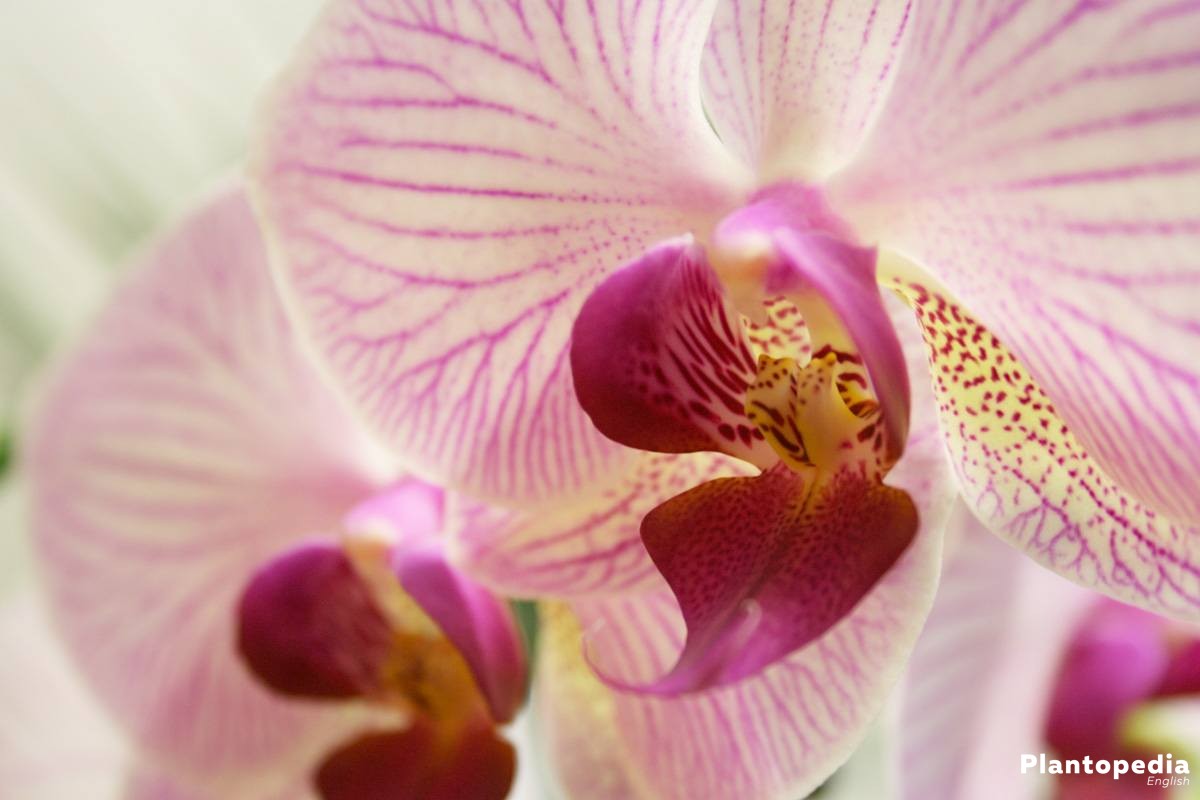
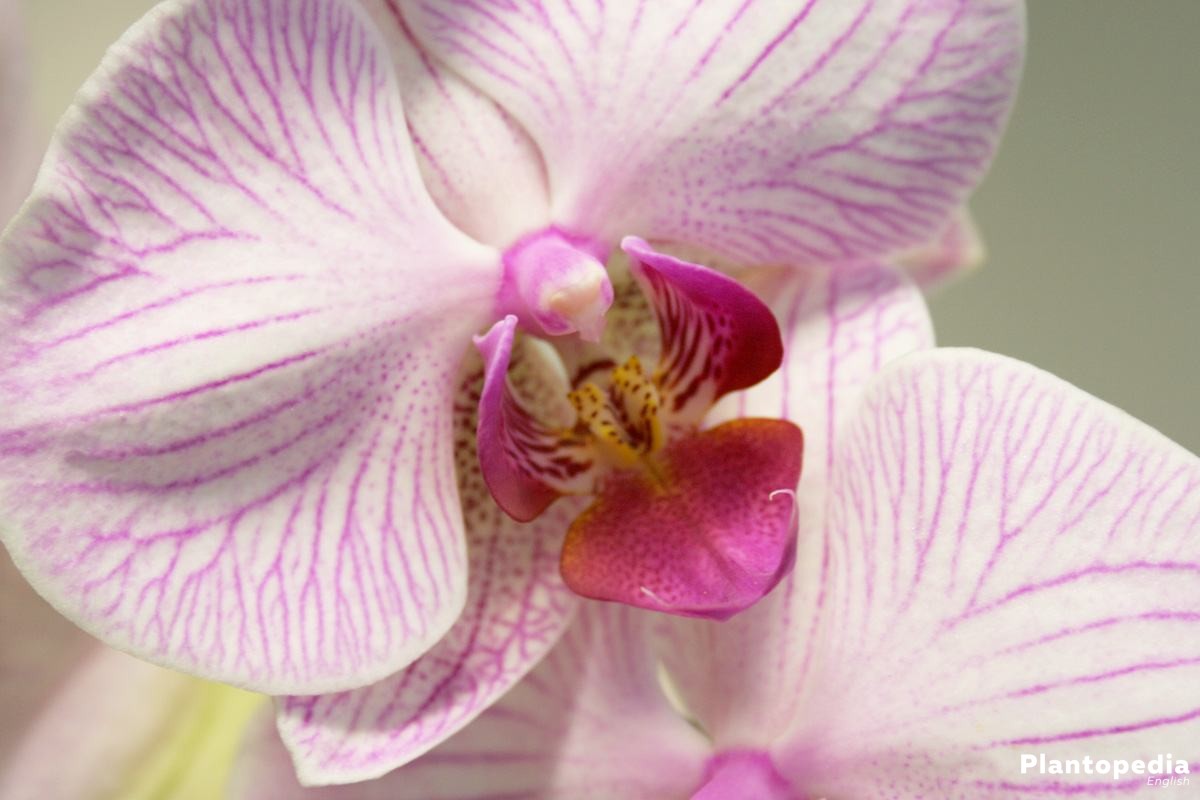
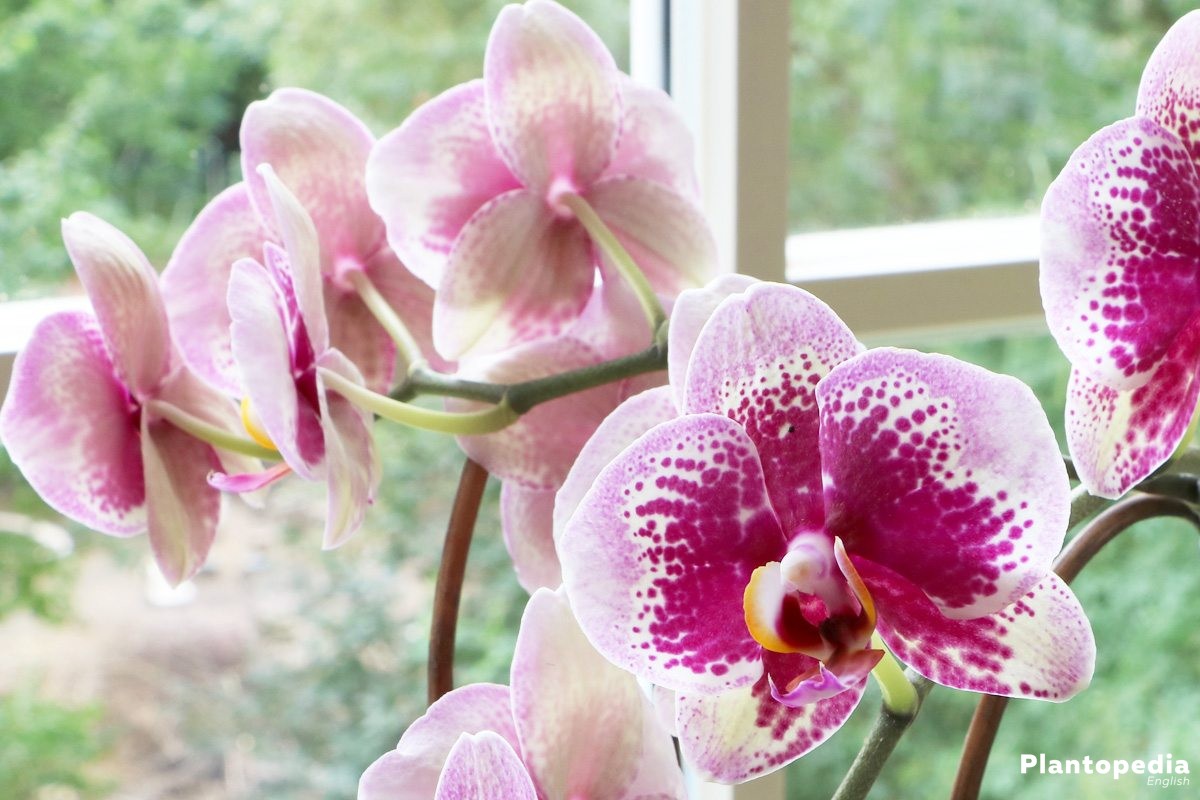
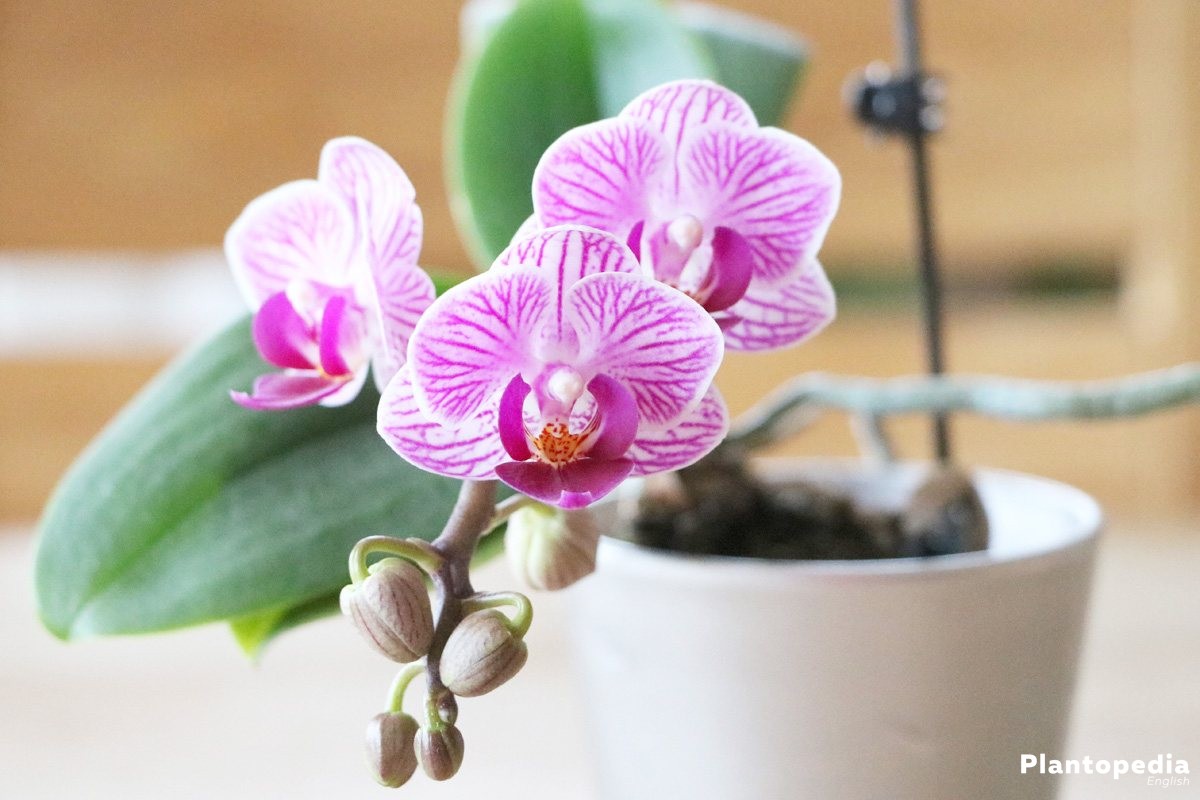
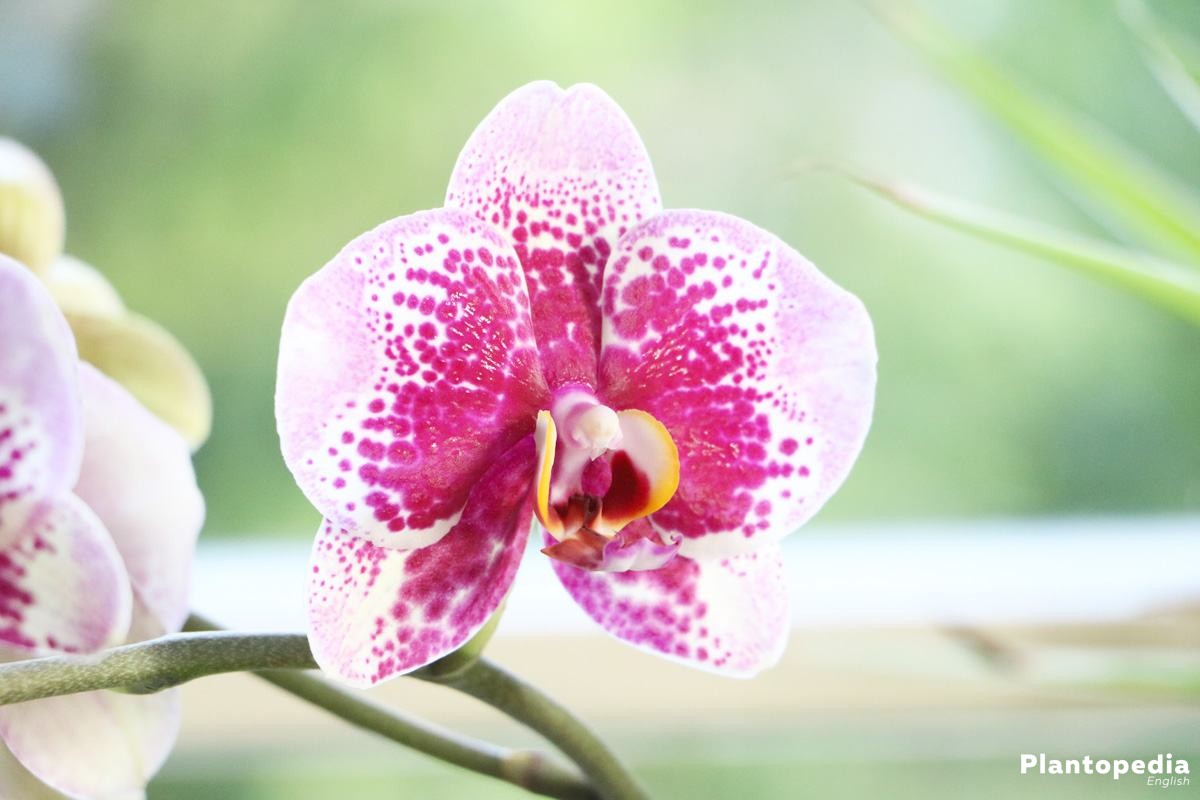
Phalaenopsis is one of the leaders amongst houseplants and the most popular of all orchids. The elegant plant with its rich blossoms is available in countless colour variations. Even though orchids often hold the reputation of little divas Phalaenopsis tolerates smaller maintenance errors and is therefore also suitable for beginners. If taken care of properly it will impress you with its breath taking flowerage for many weeks of the year.
Plant Profile
Contents
- Family: Orchidaceae
- Genus: Phalaenopsis
- English Designations: Phalaenopsis, Moth Orchid
- Indigenous in: Philippines, Indonesian islands
- Height: 10 – 110 cm
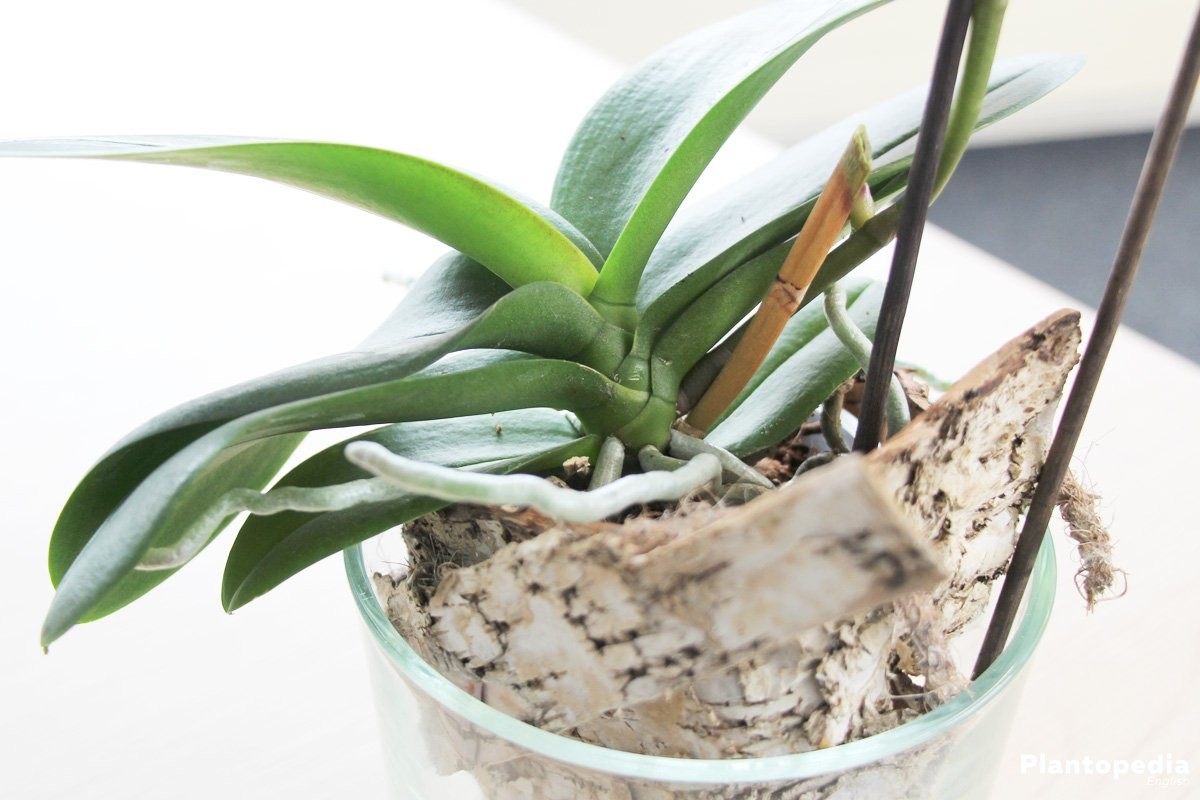
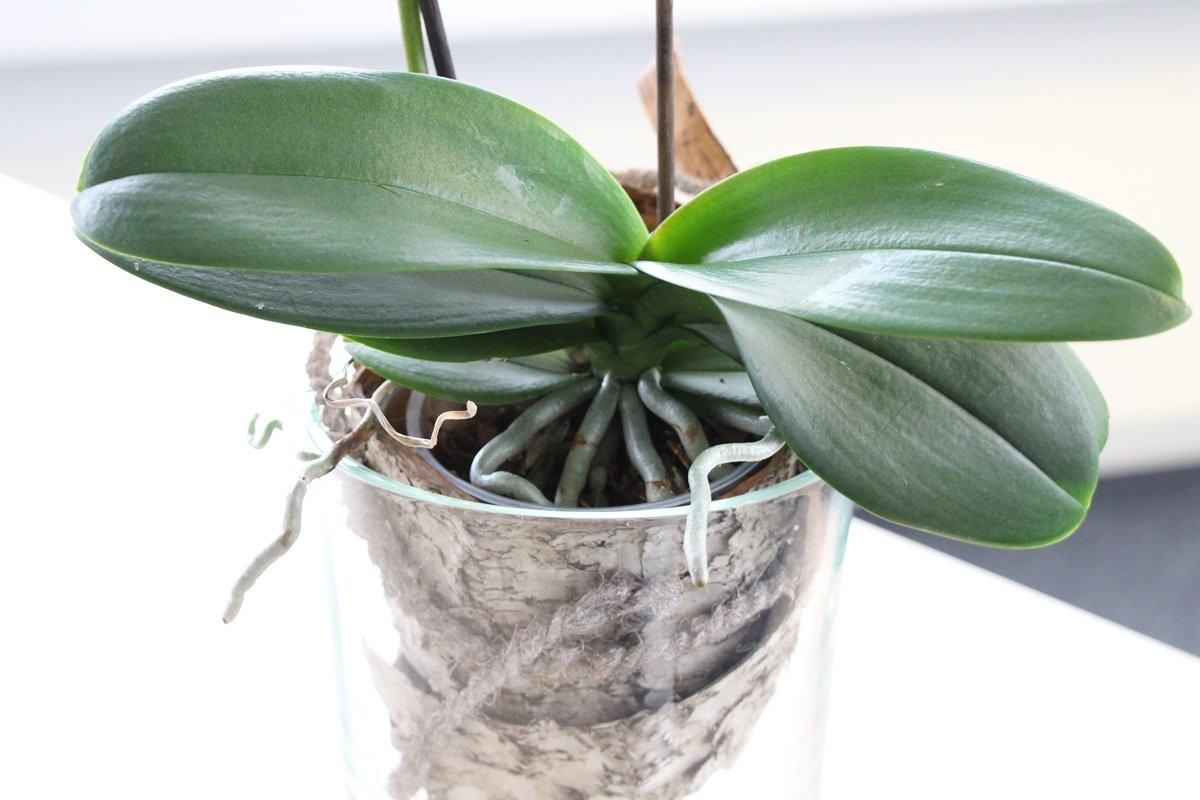
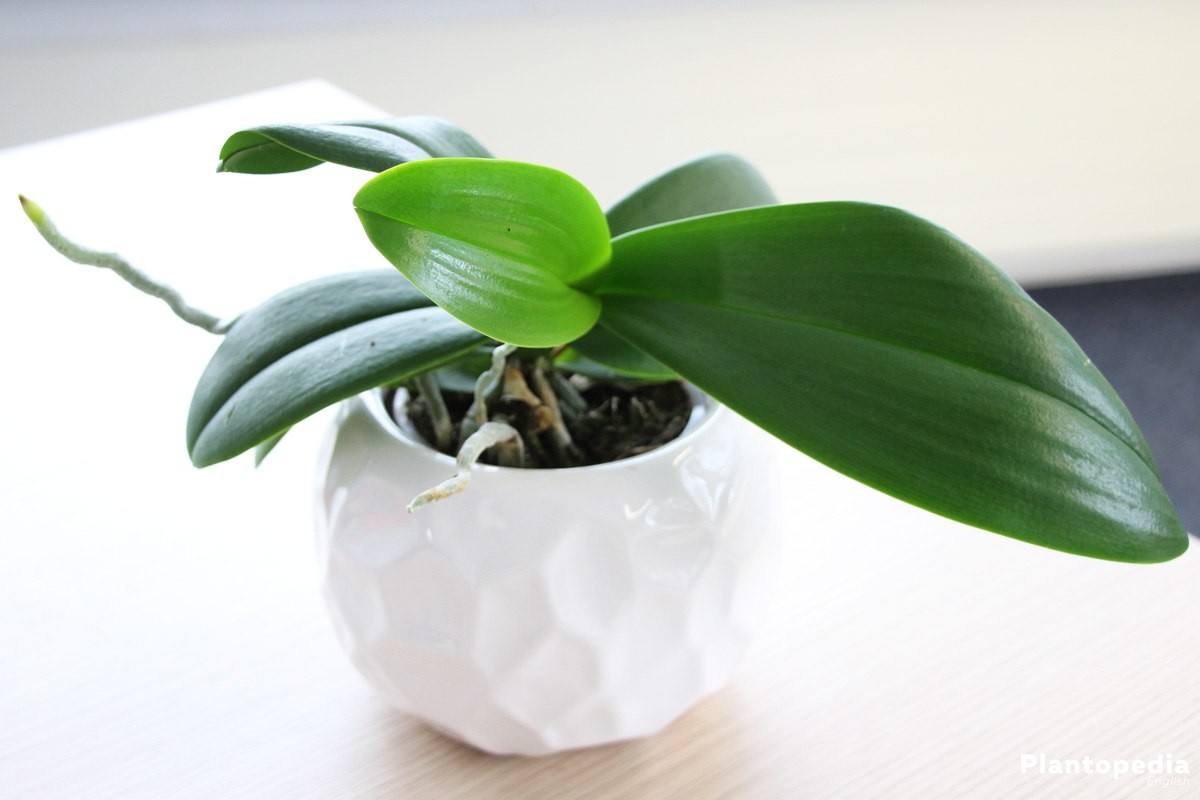
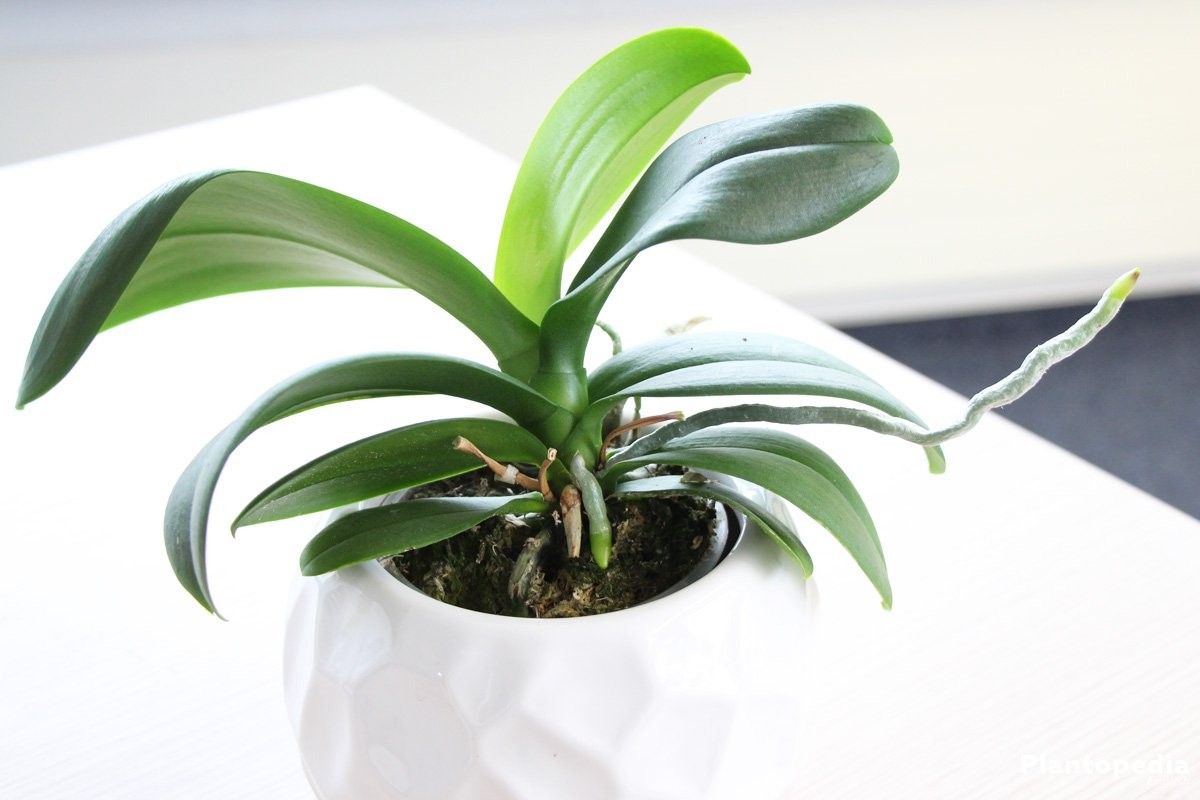
- Leaves: dark green, glossy, leathery
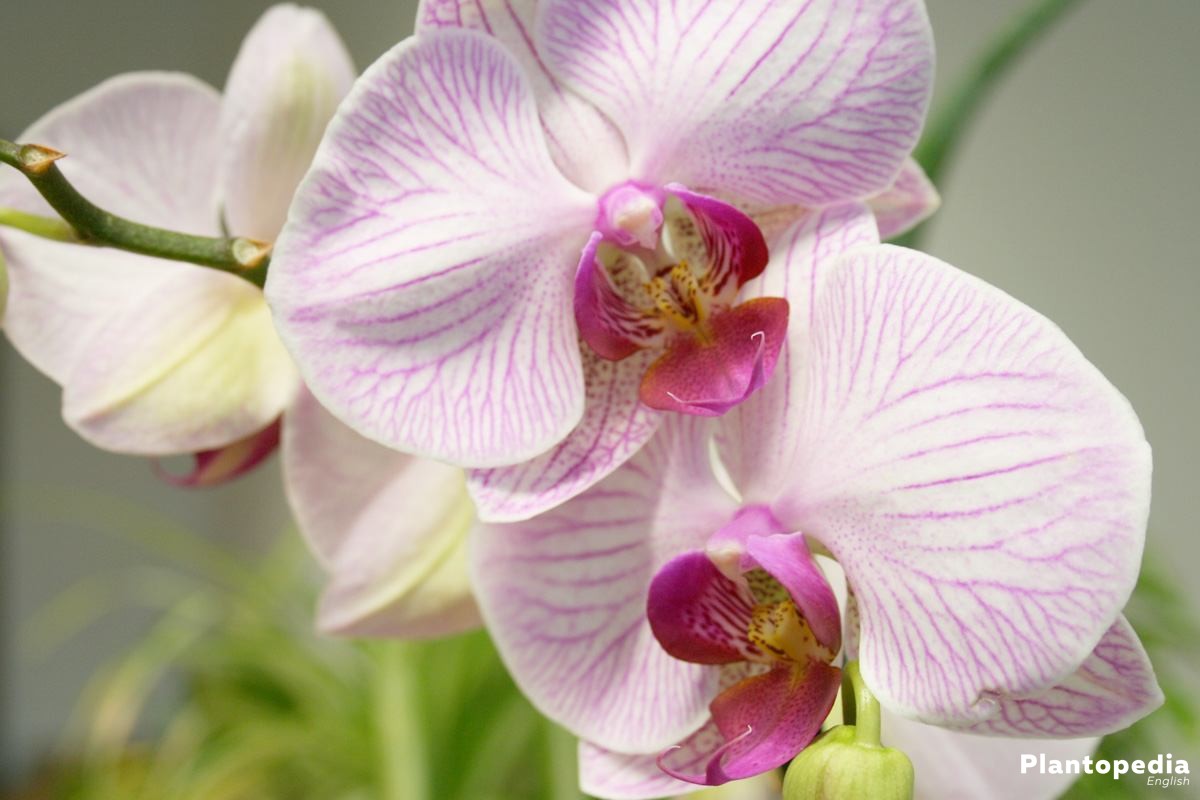
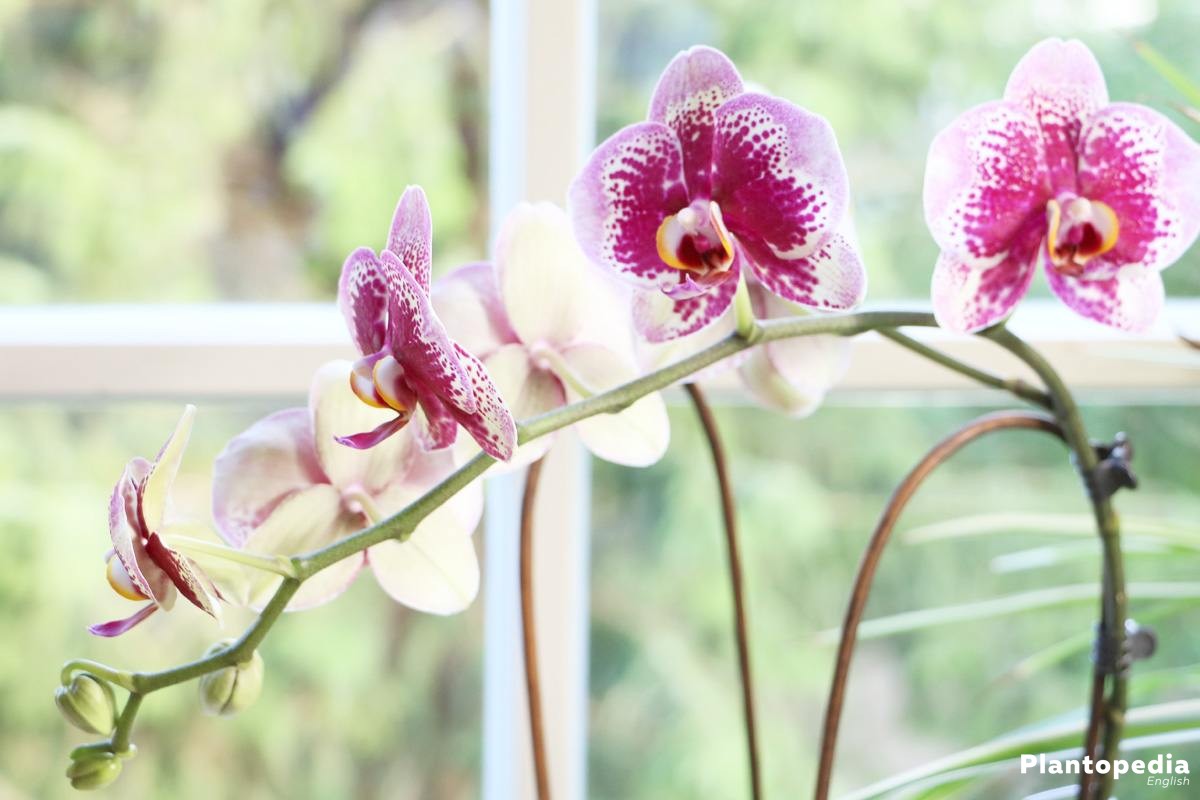
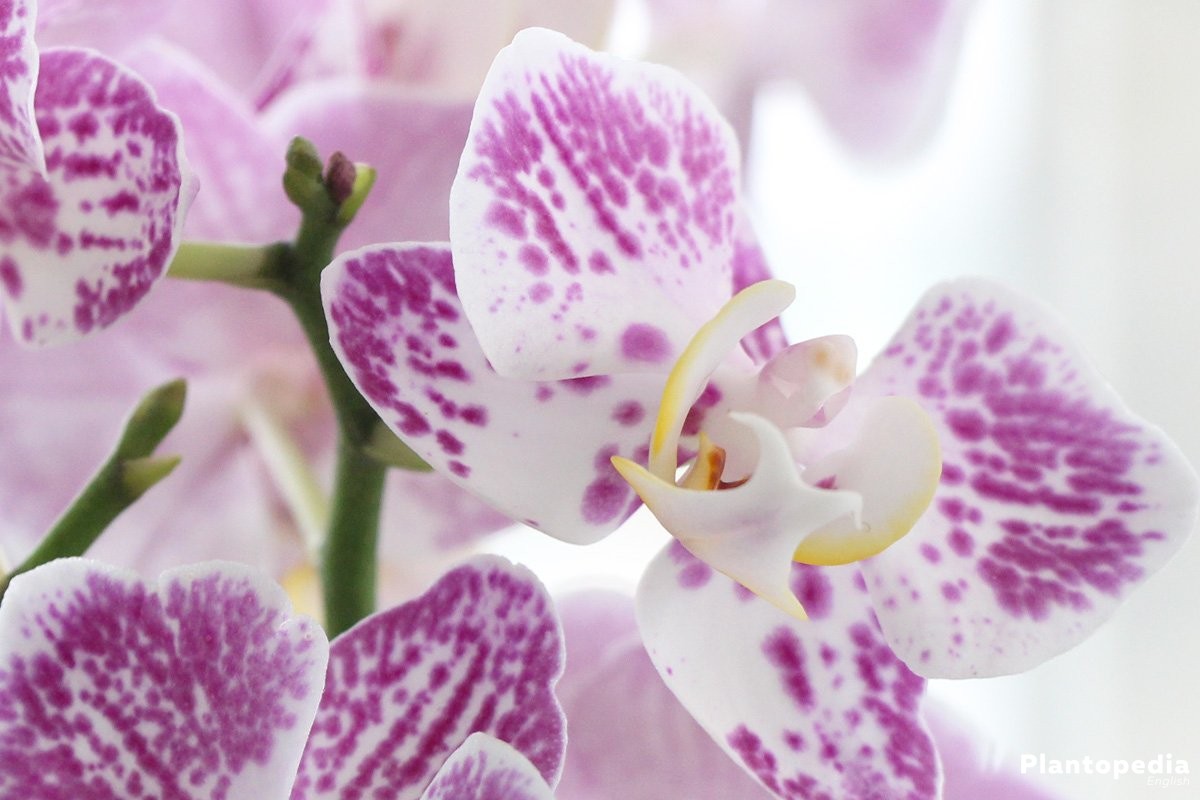
- Flower: loosely grapey or ribbed, upward growing, arching overhanging or hanging
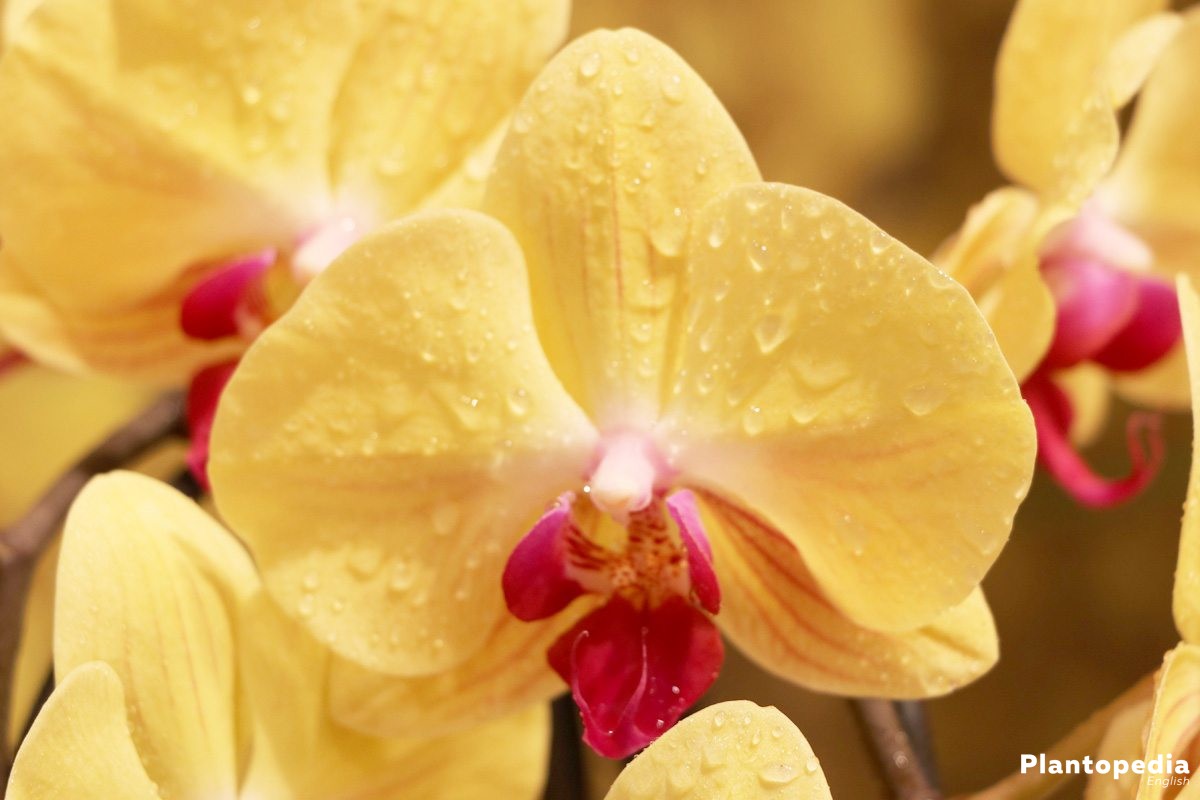
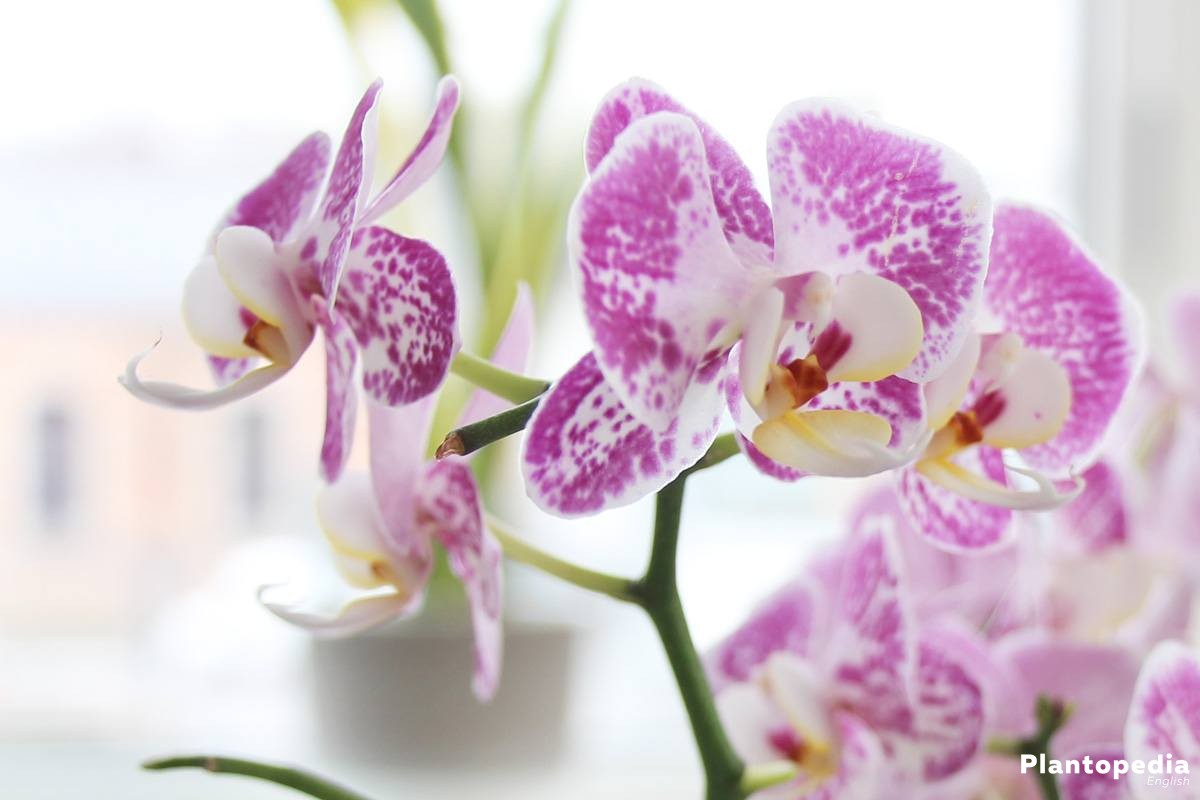
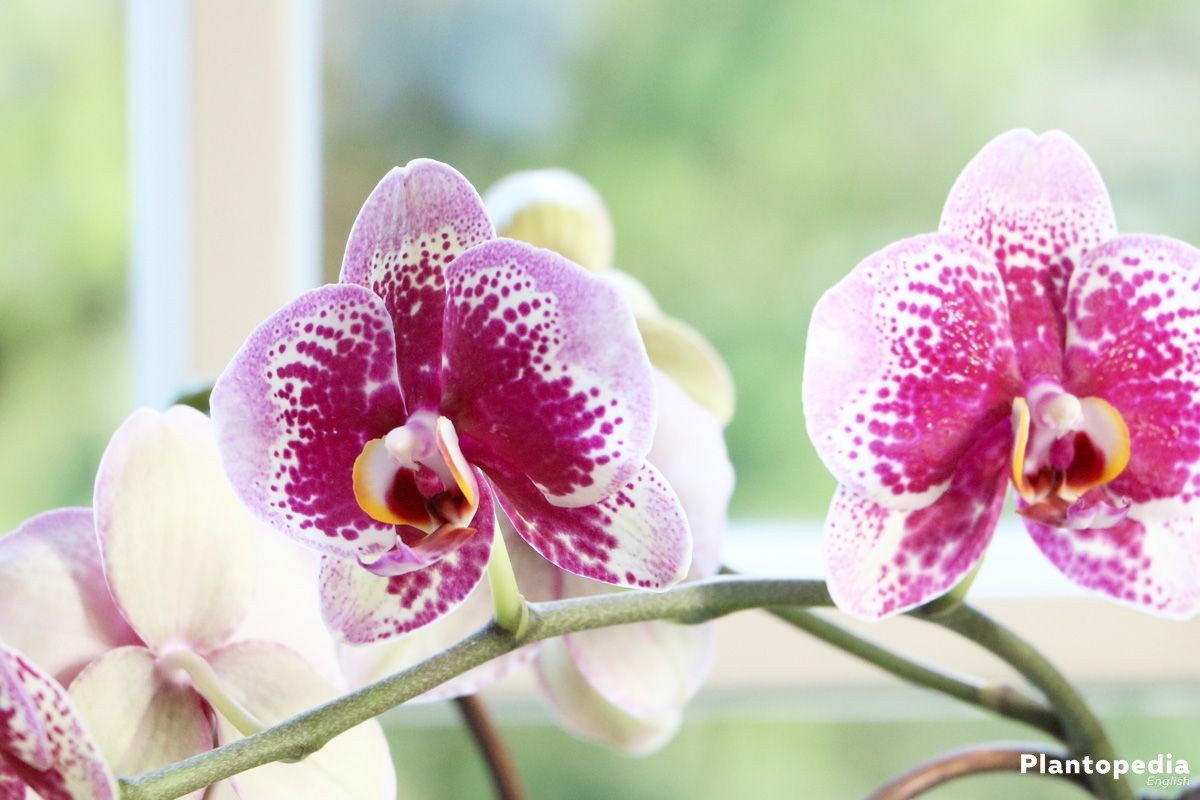
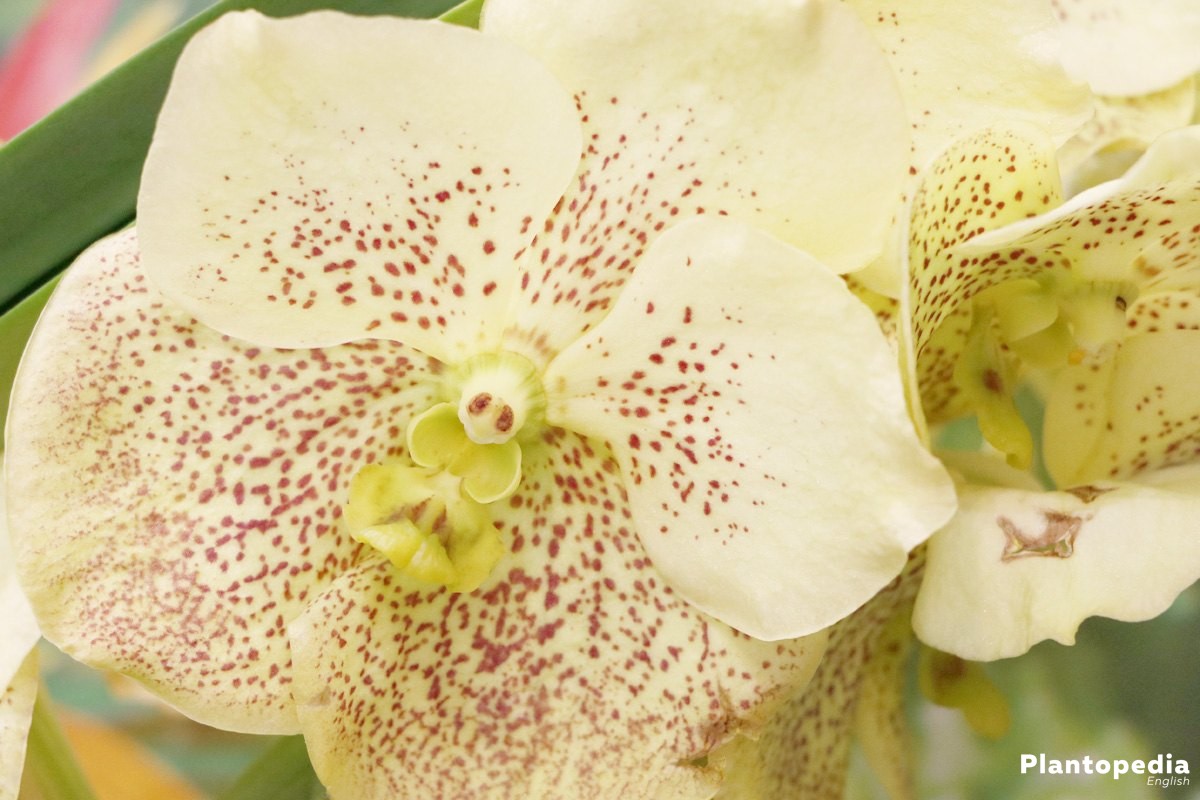
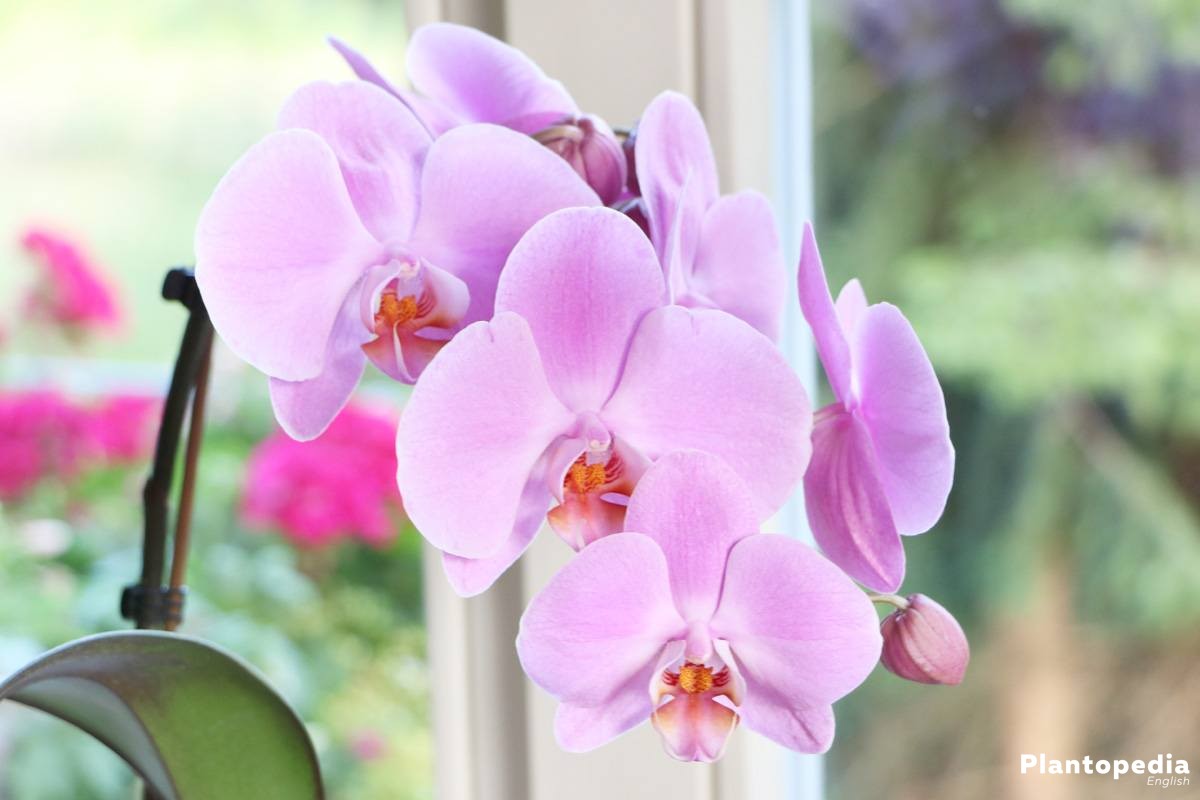
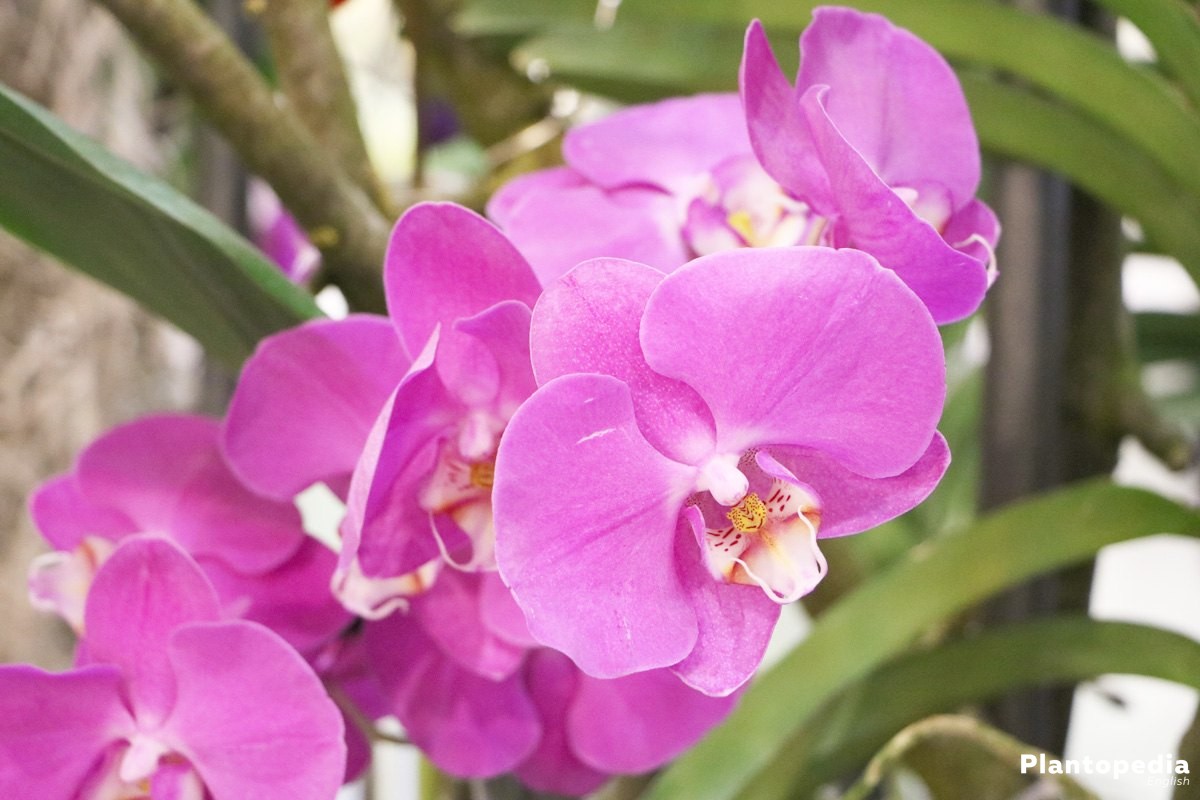
- Blossom colour: white, rose, purple, pink, striped, or spotted
Phalaenopsis, also known as moth orchid is indigenous in the tropical rainforests of the Philippines and Indonesia. However, its range also includes Taiwan, South China and Malaysia. Here it grows on to the trees as a so-called epiphyte because it is very hard for sunrays to penetrate the rainforest’s dense, leafy canopy.

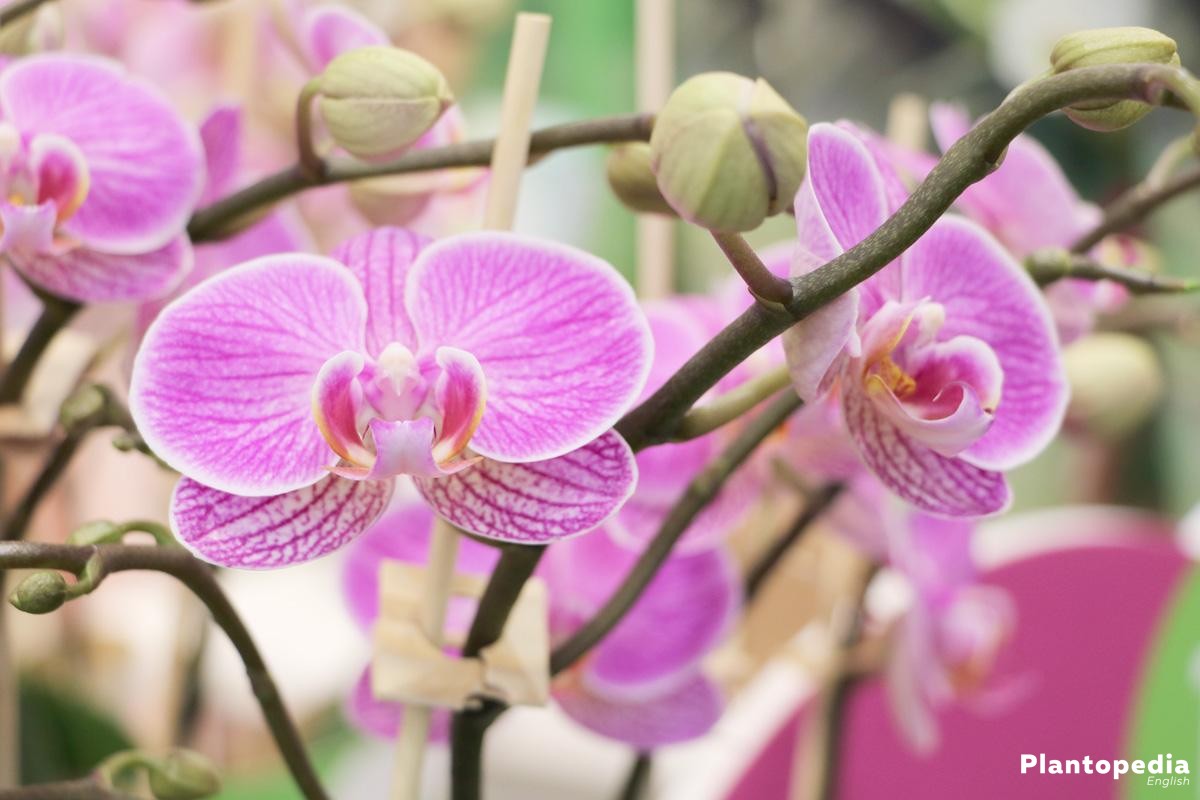
There are countless large flowering hybrids and pure types, which are particularly popular among collectors. Its main flourishing period is between October and July, where the colourful and elegant inflorescences will push out of the axil in one or several shoots.
Care
In its natural habitat Phalaenopsis grows in warm and humid surroundings at temperatures between 25-35 degrees in the day and 15-25 degrees at night. However, some types of moth orchids like e.g. Phalaenopsis lobbii also grow at lower temperatures, which can go down to about 5 degrees in winter. The humidity is high due to high rainfall.
The orchid uses its leaves and stem to absorb water from the at times heavy and quick downpours. Exactly these conditions should be imitated as closely to nature as possible so that it can successfully be kept inside.
Location
The moth orchid is a classic amongst orchids. It finds its ideal site conditions at a semi-shady to bright location without direct sunlight. This could be a place at a north or east window with sunlight in the morning, afternoon, or in the evening. When kept at a south window shadowing from the beginning of April to October is recommendable. The ambient air should always be able to circulate well and droughts should be avoided at all costs.

Dry air from the heating is also unfavourable. Temperatures should be around 20 degrees in the day and not lower than 15 degrees at night. If temperatures fall below or exceed this range drastically, moth orchids will experience heat or cold stress, which will show in yellow discoloured and withering leaves.
It is often advised to take the orchids outside over the summer. However, this should definitely be avoided and the orchid should rather remain on the warm windowsill. Frequent changes of the site should generally be avoided, especially when buds have started forming or the orchid is blossoming already. Nevertheless, it is possible to artificially extend the blossoming period if it is kept in a cooler place as soon as the first blossoms start to open. However, temperatures should not fall below 15 degrees.
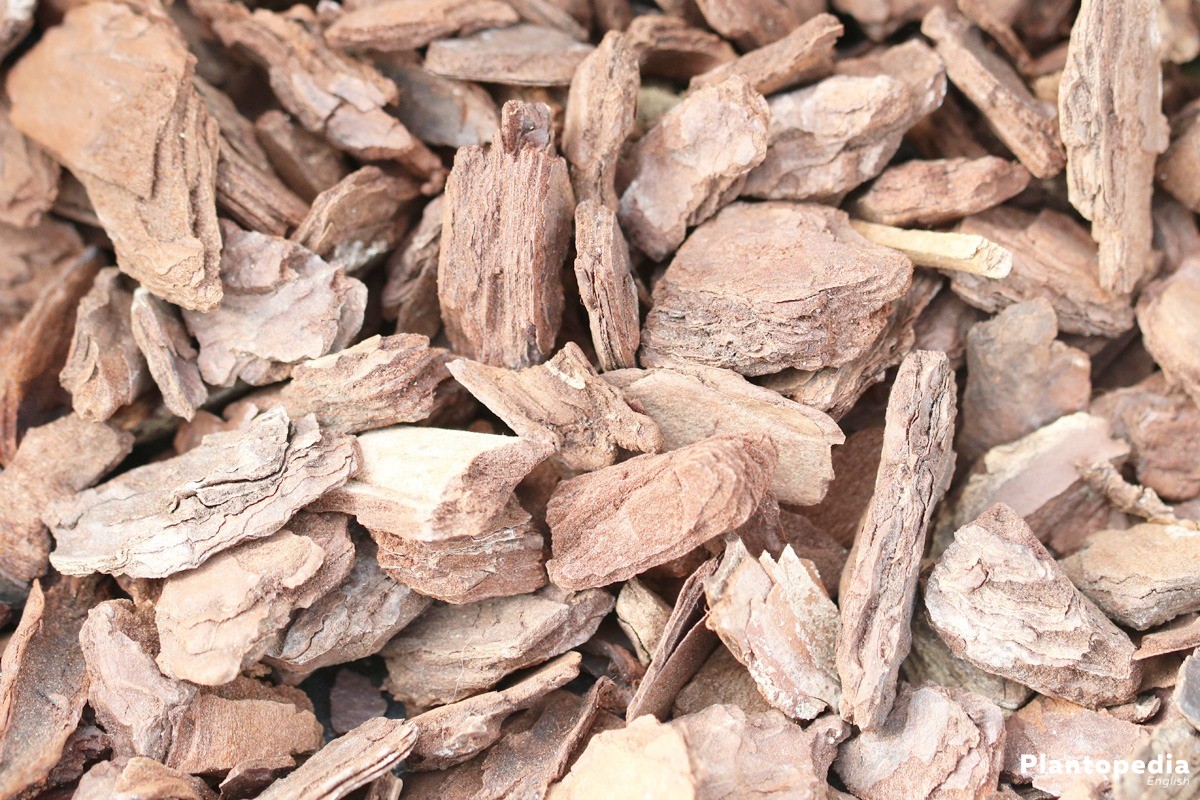
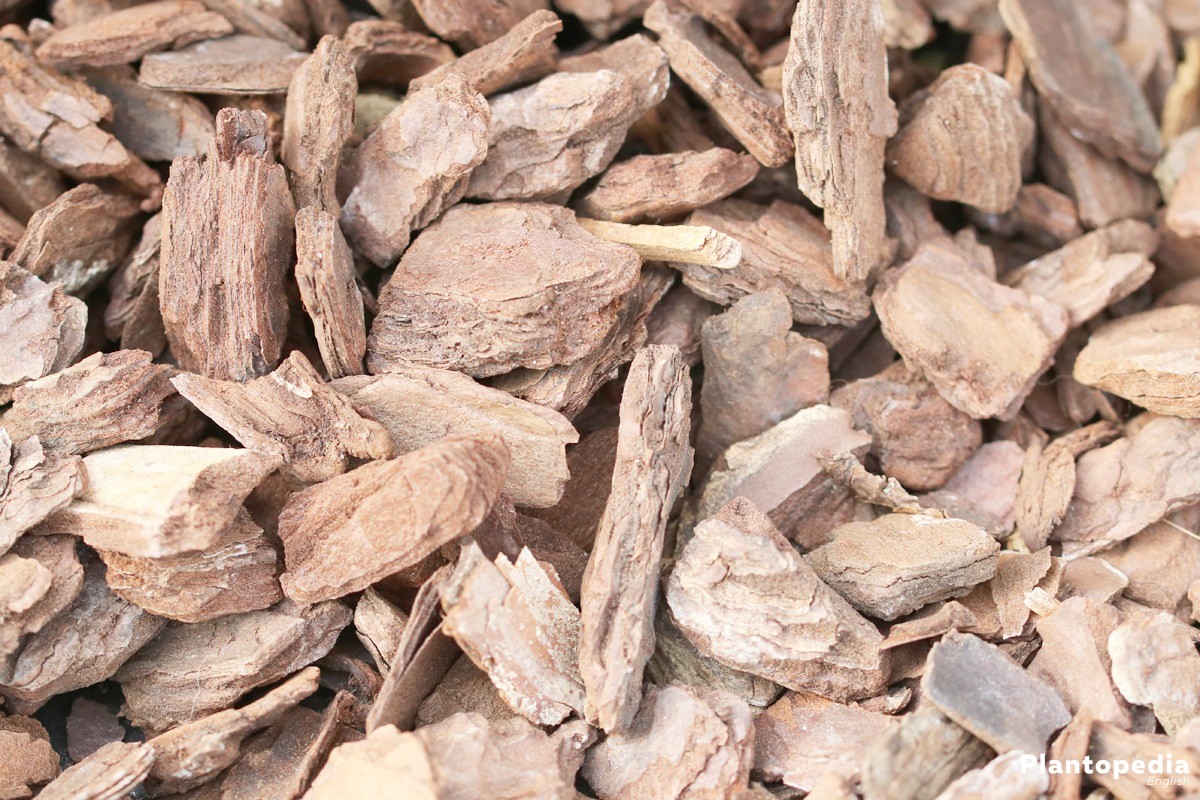
Substrate
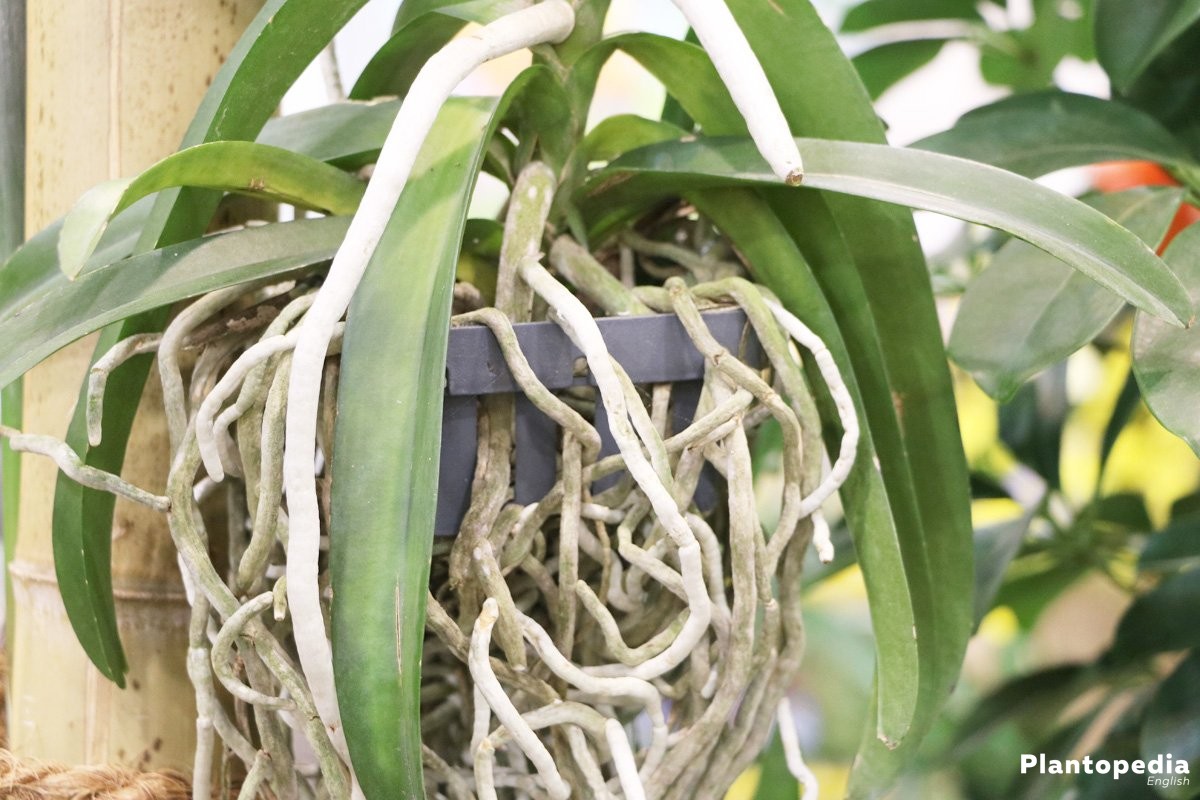
As this orchid, Phalaenopsis originally grows on trees it is not used to a firm foothold in the ground. Therefore, regular potting soil is totally unsuitable. A coarsely structured substrate comes closest to its natural habitat. This ensures good airing. Furthermore, substrates like this are not able to absorb salts from fertilisers too well, which would harm the orchids, as they are sensitive to salt. A high quality special orchid substrate will fully meet its requirements.
Watering
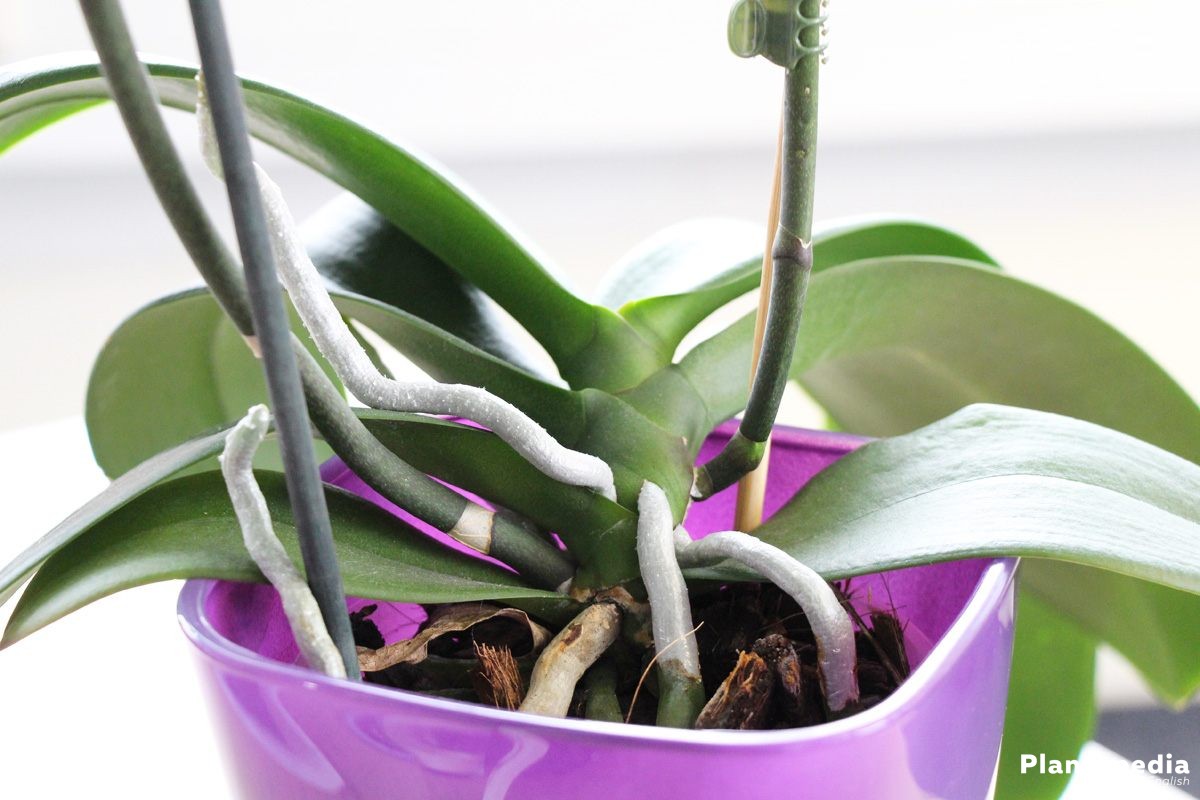
Orchids like Phalaenopsis exclusively build aerial roots. As the name suggests, aerial roots require an airy environment. This is why the substrate should in no case be too damp. They like neither cold nor wet feet.
- water once a week or submerge in water for 5-10 minutes
- let it drip off after, for about 15 minutes
- submerge twice a week during summer if necessary
- use rainwater if possible
- regular fogging of the leaves and roots simulates a climate that is similar to the rainforest
- only fog during the day, the orchid should be kept dry during the night
The water supply of hydro cultures is easiest and least problematic with a hydro tank ‘S’ as the water tank is next to the culture pot and not inside it. Watering too much is therefore impossible. Apart from that a very low water level should be kept and the roots of the orchid should never directly be in the water.
Fertilising
A special orchid fertiliser comes in handy to provide nutrients to moth orchids that are placed in regular substrate. It is suited to the orchids requirements and lowly dosed accordingly. Fertilise every two weeks from March to October. If in doubt, follow the instructions in regards to dosage and frequency of fertilisation provided by the manufacturer.
A special orchid fertiliser in form of a long-term fertiliser, which is given through the irrigation water, is also sensible for hydro cultures. It will provide plants with nutrients for months and should be given every 3-5 months at most. No matter which fertiliser you use it should generally be given at a low dosage. As orchids (Phalaenopsis) are generally very sensitive to salt it is advisable to flush the expanded clay once every spring and autumn to wash out all salt residues.
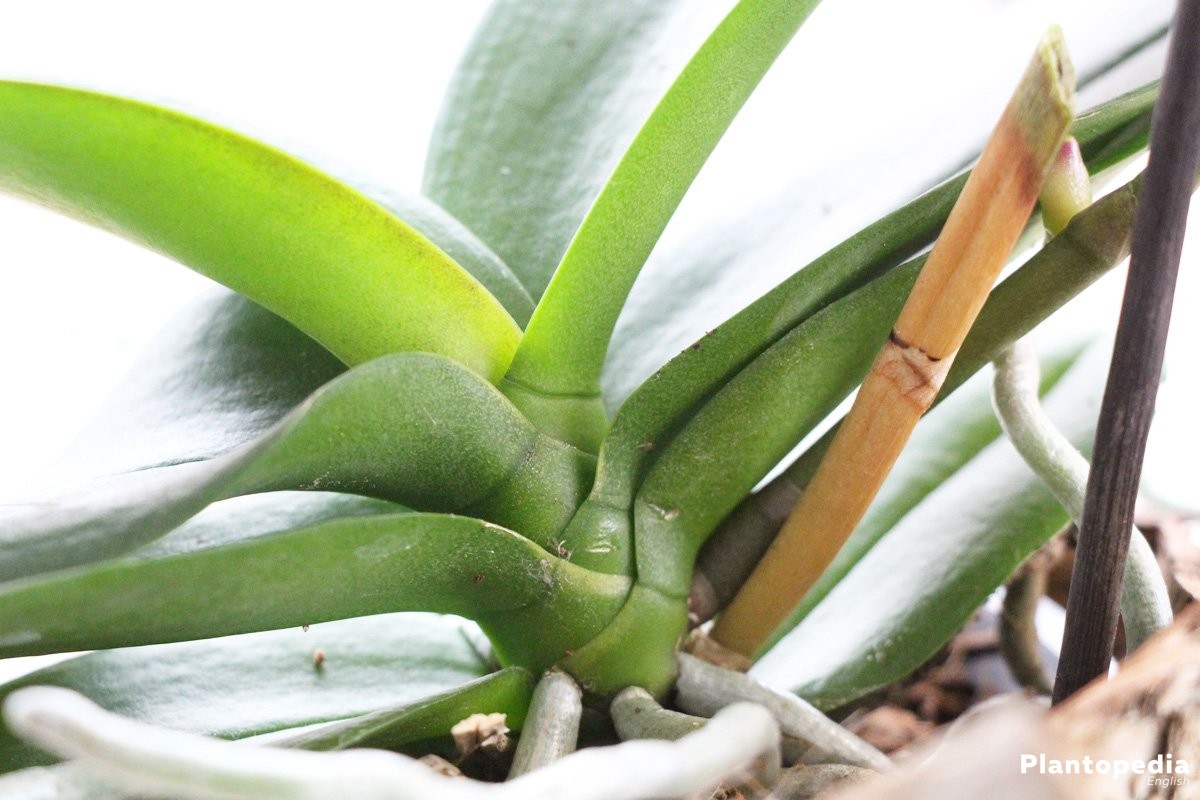
Trimming
For this orchid (Phalaenopsis) trimming is limited to the flower stems and roots. As long as the flowering stem is green it is not cut even when all blossoms have fallen off. New shoots often form from dormant buds of old flower stems, which is why they should be left uncut until they are withered completely. The following applies: All the green parts of the orchids remain all that is withered is cut with a sharp and preferably sterilised knife.
Thus only dried up, yellow or mouldy leaves are cut. They will fall of on their own for the most part. Do not forget the roots. Remove mouldy, hollow and dried out root parts every time you repot. Try not to damage healthy roots. In case it still happens, it is advisable to dust the cut with charcoal dust to disinfect it.
Hibernation
Most orchids take a breather in winter after the exhausting flowering period. However, orchids with no bulbs (thickened part of the stem axis) including Phalaenopsis are an exception. It grows and forms blossoms all year around. It is practically cultivated continuously.
- therefore, it requires a sufficient amount of light especially around the roots
- this can be achieved with transparent cultivating pots and planters
- artificial lighting might be sensible
- simultaneous lowering of temperatures to 5-10 degrees will support the flowering
- a location that is too dark in winter will lead to the loss of the buds
- temperatures should not be lower than 5 degrees
- avoid excessive airing
- otherwise orchids could suffer from cold shock
- this will result in limp and soft, sometimes also transparent leaves
- reduce watering significantly when hibernating at a cool place
- fertilise once a month at most
Propagation
Moth orchids (Phalaenopsis) can be propagated though sowing and layers. However, sowing is not suitable for amateurs and should be left to growers. The propagation with layers is significantly easier. You can distinguish between stalk and stem layers.
Stalk Layers
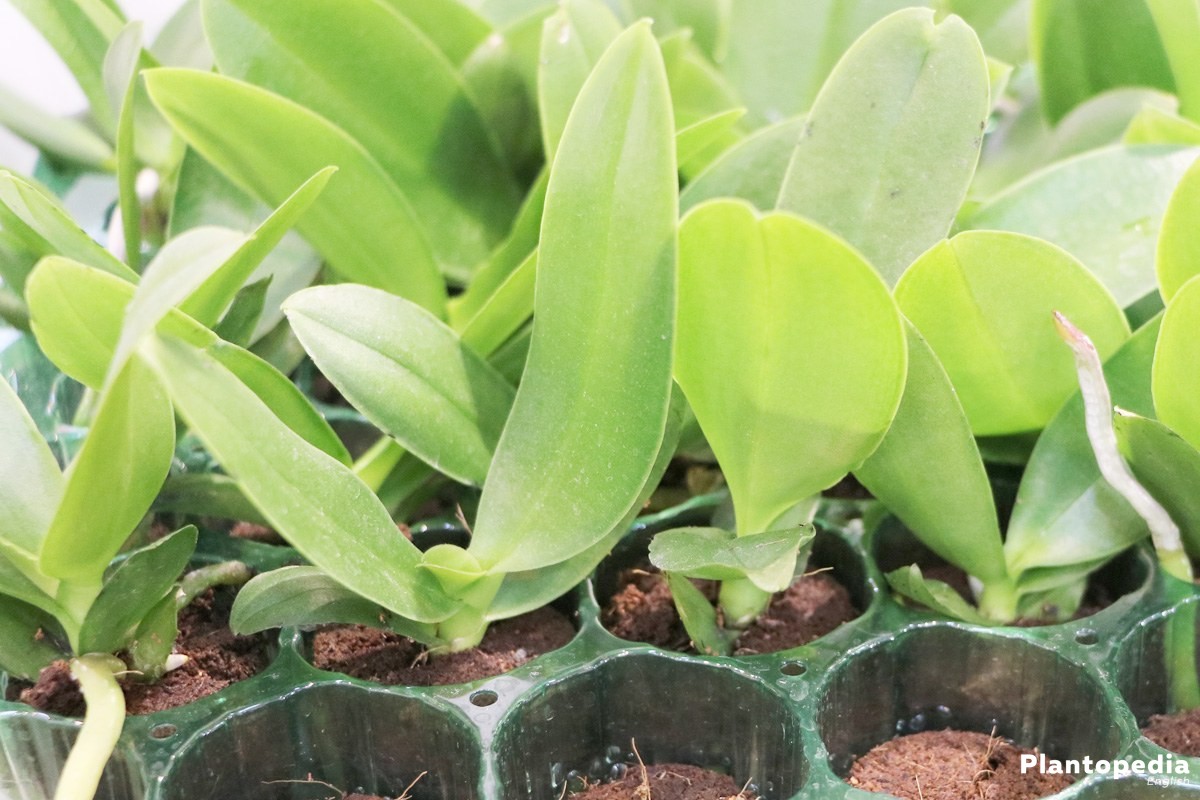
A stalk layer can form at a growing point of the stalk. Instead of a new panicle leaves start to form and a layer develops. Spring is the best time to cut it from the mother plant, as the light supply for the young plant is ideal. The layer should have at least two leaves and three aerial roots with a minimum length of 5 cm. The bigger the layer, the bigger the chance it will survive.
Cut the little plant together with a 2-3 cm long piece of the flower stalk with a clean and sharp knife, about 1 cm over or underneath the layer. Then, plant it into a transparent orchid pot. As opposed to adult plants the substrate should be finer so that the little plant can take root. Carefully tap the pot a few times while planting so that the substrate distributes evenly.
To make it easier for the layer to take root humidity should be as high as possible. You can achieve this by e.g. placing the pot with the orchid, Phalaenopsis in a saucer that is filled with expanding clay and water and spraying the leaves and aerial roots frequently.
Stem Layers
In contrast to a stalk layer a stem layer grows directly out of an axilla of the stem mostly below the leaves. It often forms when the sprout grows out of the heart of the plant so that no new leaves can form. However, to ensure its own survival it will grow a stem layer.
Cutting of a stem layer is quite risky as it is attached firmly to the mother plant. It should have enough roots of its own. It is easier to see if the roots of the mother plant and the layer are intertwined when you take out the mother plant from its pot. If that is the case try to very carefully separate them with a sharp knife. Then, disinfect the cut directly at the stem and plant the layer.
Repotting
Moth orchids should be repotted about every 2-3 years or when the substrate gets earthy. The best time for it is in spring, as the growing period has not started yet and it usually also does not have blossoms at this point. Ideally, use special orchid pots when repotting. They are transparent and allow enough light on the roots, which form the important chlorophyll. The new pot does not need to be larger than the old one.
- water the orchid thoroughly about a day before repotting
- it will be easier to take out of the pot
- shake off old dirt from the root bale
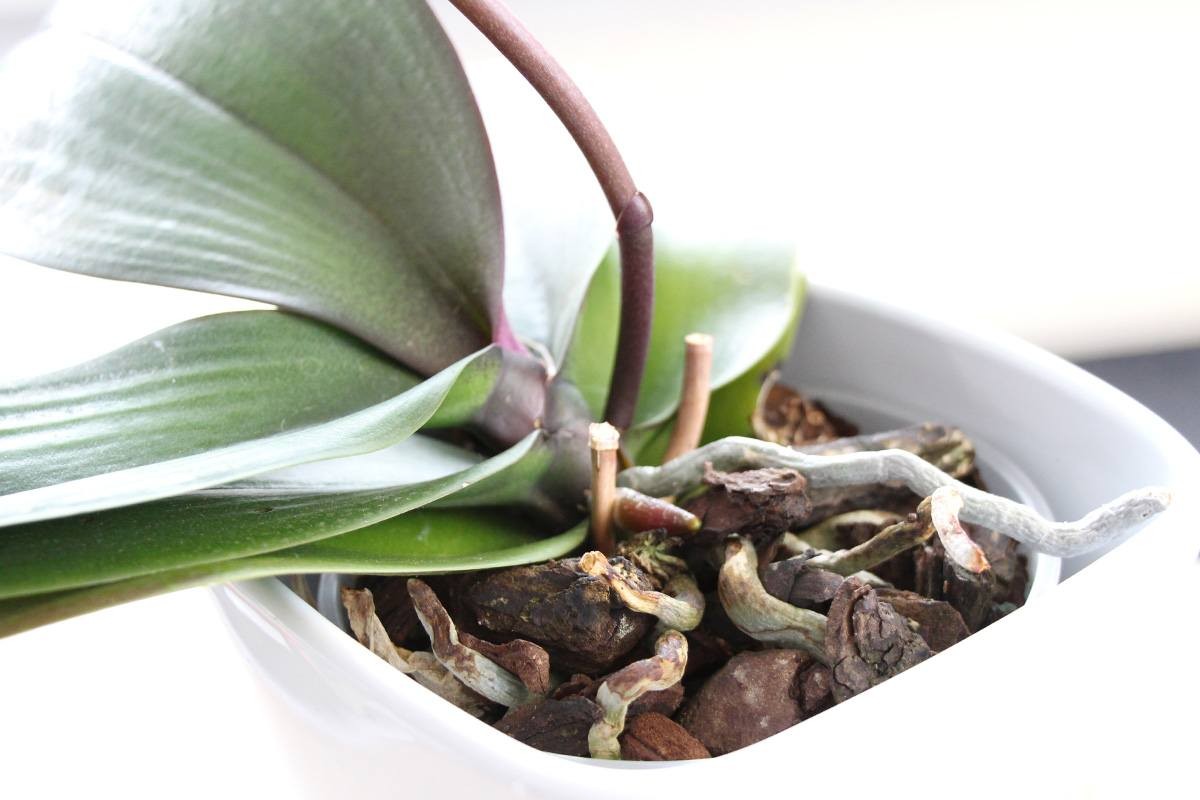
- remove dead and rotten root parts
- dead roots are hollow and limp
- also cut dried out leaves and stalks
- preferably, avoid damaging or breaking off aerial roots
- then, place the orchid in the new pot with a slight twist
- fill with substrate
- carefully shake the pot while doing so
- this way, the substrate reaches the bottom of the pot and does not leave cavities
- aerial roots pointing sideways may hang over the pot
The roots of the orchids must not be pressed into the substrate too deeply and should not be too deep in the pot to avoid rotting. Do not water the moth orchid immediately after repotting. Instead, over the next days spray the substrate daily with a nebuliser. You may start watering normally again after 2-3 weeks.

Hydro Culture
Phalaenopsis belongs to the houseplants that are suitable for a hydro culture. As plants in hydro cultures are rarely commercially available you can only adapt already existing plants accordingly.
It is best to use a young plant that has not blossomed yet. Furthermore, you will need growing pots with a minimum height of 12 cm and expanding clay with a grain size of 8/16 for better airing.
First, take the orchid out of the old substrate and remove all substrate residues preferably with lukewarm water. After that, let the plant dry well. Then, remove dead and damaged root parts without damaging the tips of the roots or the centre of the shoots.
Fill the growing pot with 2-3 cm of expanding clay, place the orchid on top and fill up with expanding clay. The orchid, Phalaenopsis may only be placed in the pot at a depth so that its roots do not reach the water. Fill the accompanying planter up to a maximum of 0,5 cm of water and then place the growing pot in it. When using a so-called hydro tank ‘S’, which should be ideal for orchids, no water level indicator is necessary. Fertilise through the water.
Pests
Mealybugs
White, waxy threads that are similar to cotton are an indicator for an infestation. It is mostly caused by dry air. To combat the infestation isolate the plant and repeatedly spay with a solution of methylated spirits and soft soap or wipe with an emulsion of oil, washing-up liquid and water.
Scale insects
An infestation of scale insects shows in small brown bumps on leaves and stalks. Their scale armour protects the insects so well that you won’t be able to avoid using systemically operating remedies.
Care mistakes
Yellow, limp, or transparent leaves
A location that is too cold or excessive airing can cause a cold shock. The orchid will react with soft, limp and at times also transparent leaves.
Dropping of Buds
Buds are the most sensitive to maintenance errors. A lack of light, substrate that is too wet or a location that is too cold can cause them to fall off. If the orchid is placed close to a fruit basket the emitted ripening gas can also cause a dropping of the buds.
Too much wetness
Especially in winter there is the risk of watering the orchid too much. The result is wrinkly and limp leaves. If you repot the orchid immediately it can be saved. Let the substrate dry out completely before watering as a preventive
Too cold or too hot
The orchid (Phalaenopsis) may react to too cold or too warm surroundings and drought by drying out or shedding the buds even before flowering. It also minds rising air from the heating e.g. on the windowsill.