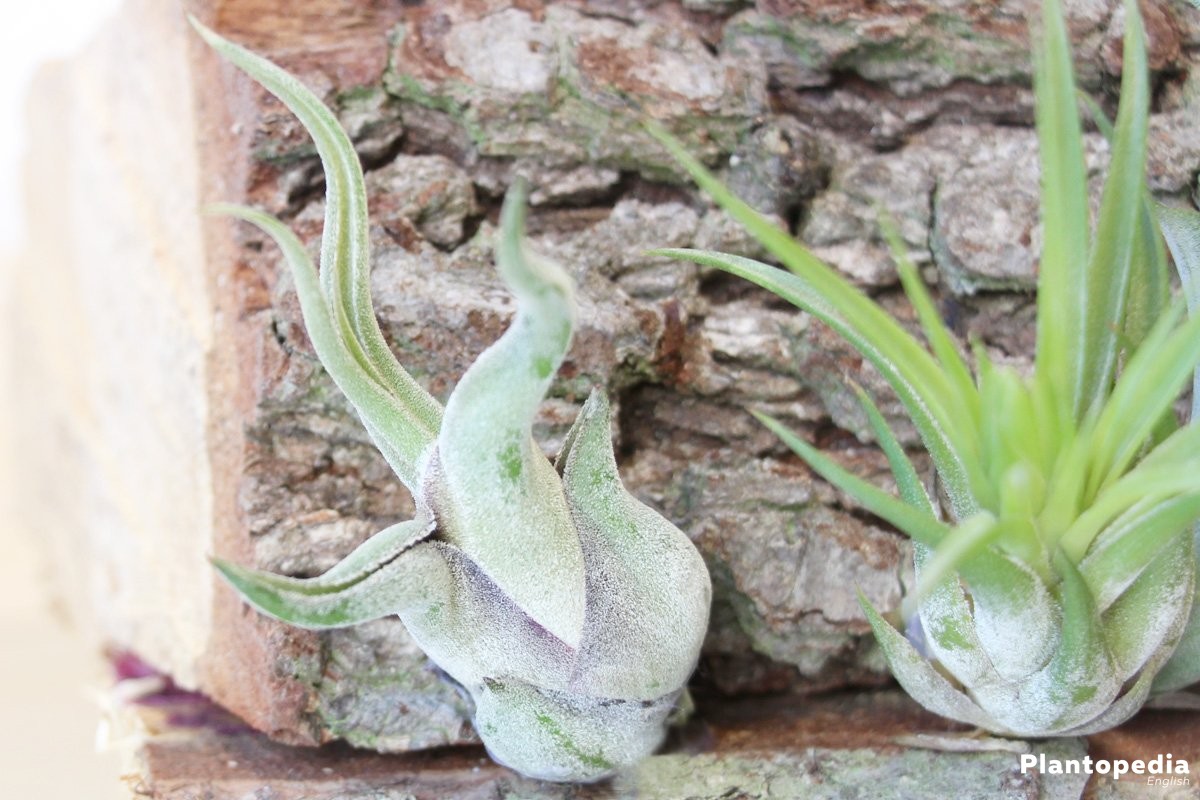
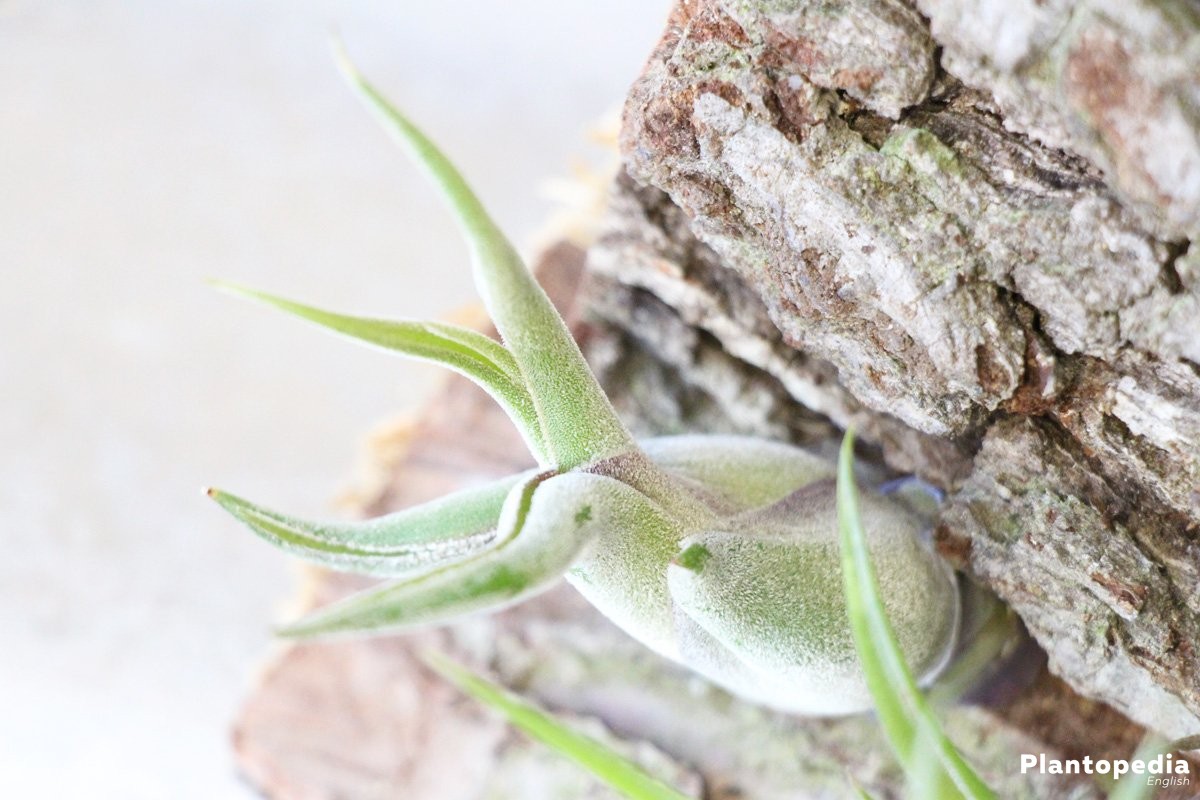
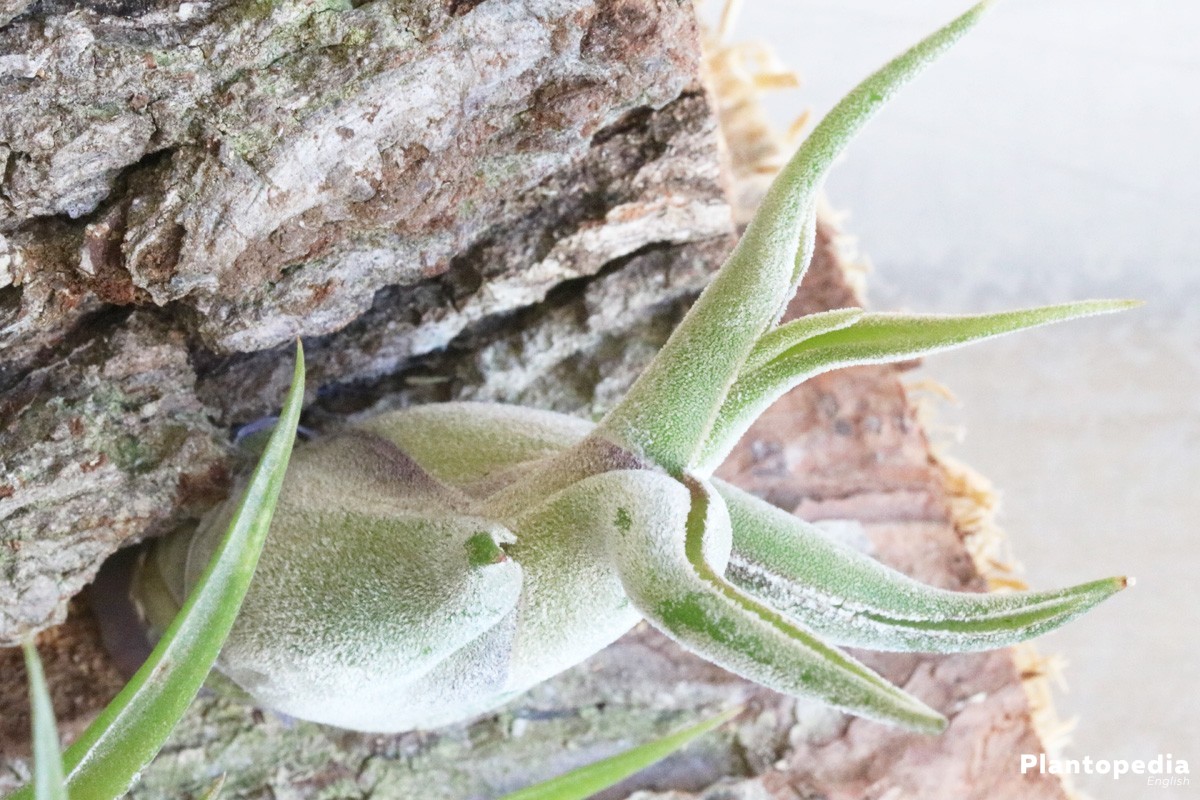
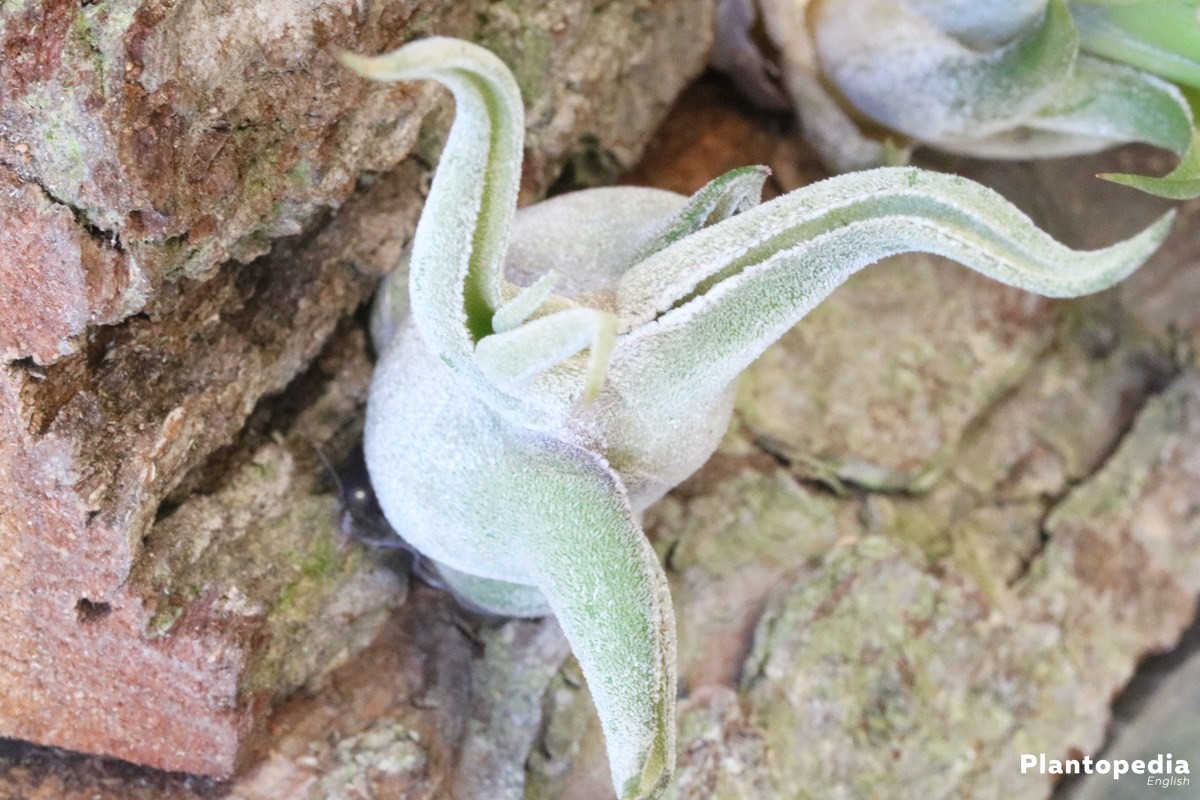
It grows without a substrate and its snake-shaped leaves bring an exotic flair to living rooms. The epiphytic Tillandsia caput-medusae is an easy-care indoor plant, as long as you pay attention to its unorthodox needs. Provided proper care, this tillandsia does not even challenge an inexpert hand. These care instructions explain how to tie up this glamorous bromeliad in a perfect location, make it flower, water properly, fertilize, overwinter and propagate it.
Plant Profile
Contents
- Genus within the family of the Bromeliaceae
- Name of genus: Tillandsia
- Name of species: Tillandsia caput-medusae
- Trivial name: Head of Medusa
- evergreen, herbaceous flowering plant with epiphytic habit (air plant)
- native to South America, mainly Mexico, Guatemala, El Salvador, Honduras
- tubular, blue-red flowers in early summer
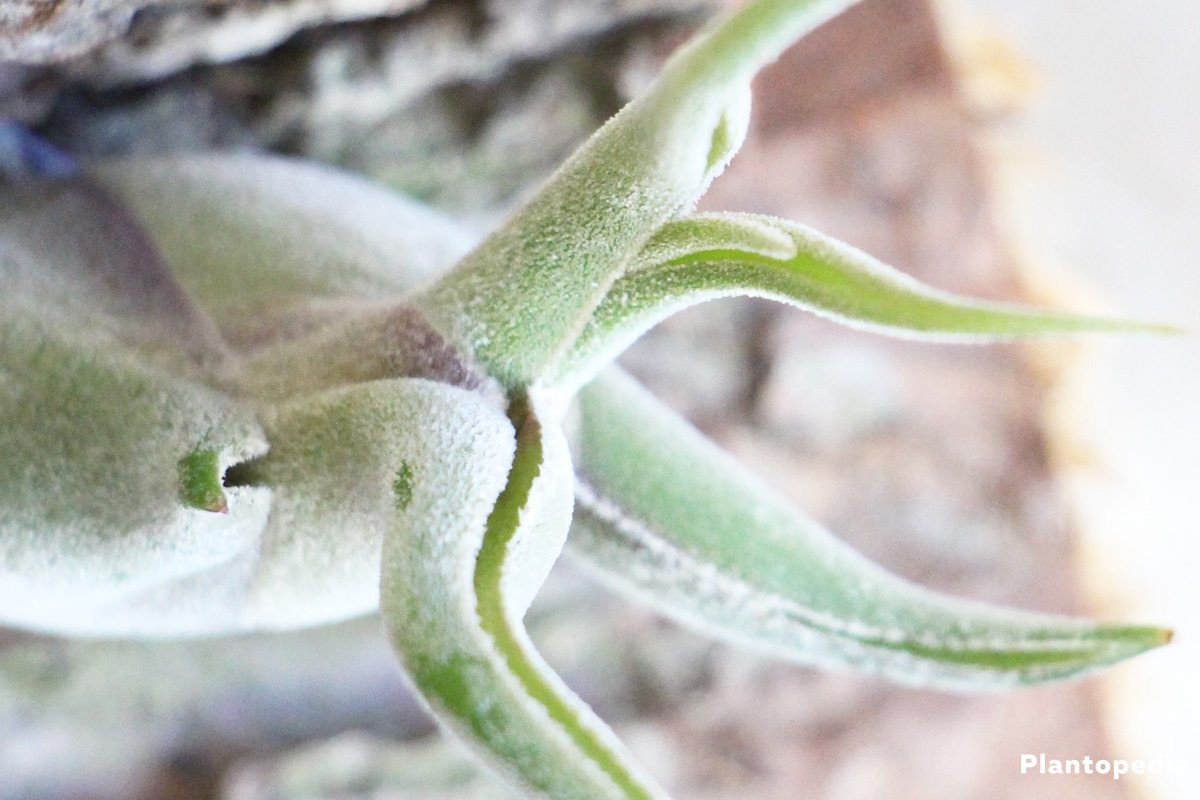
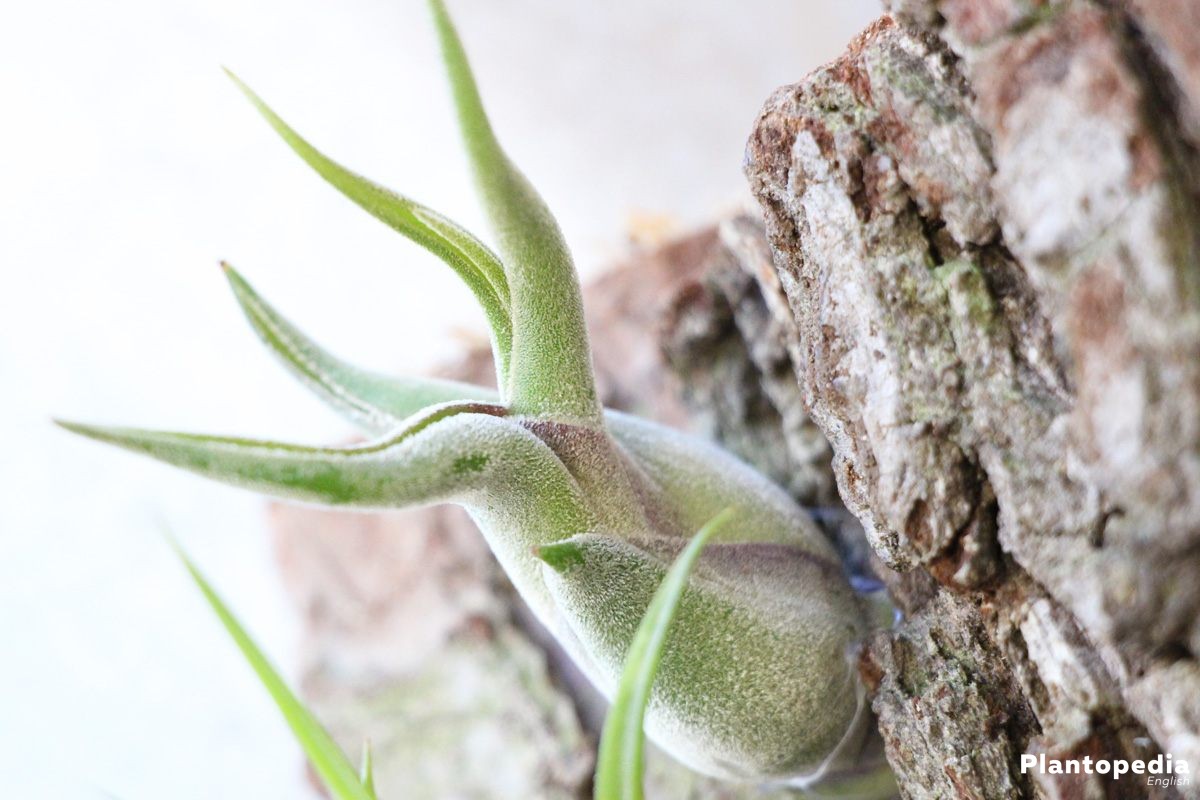
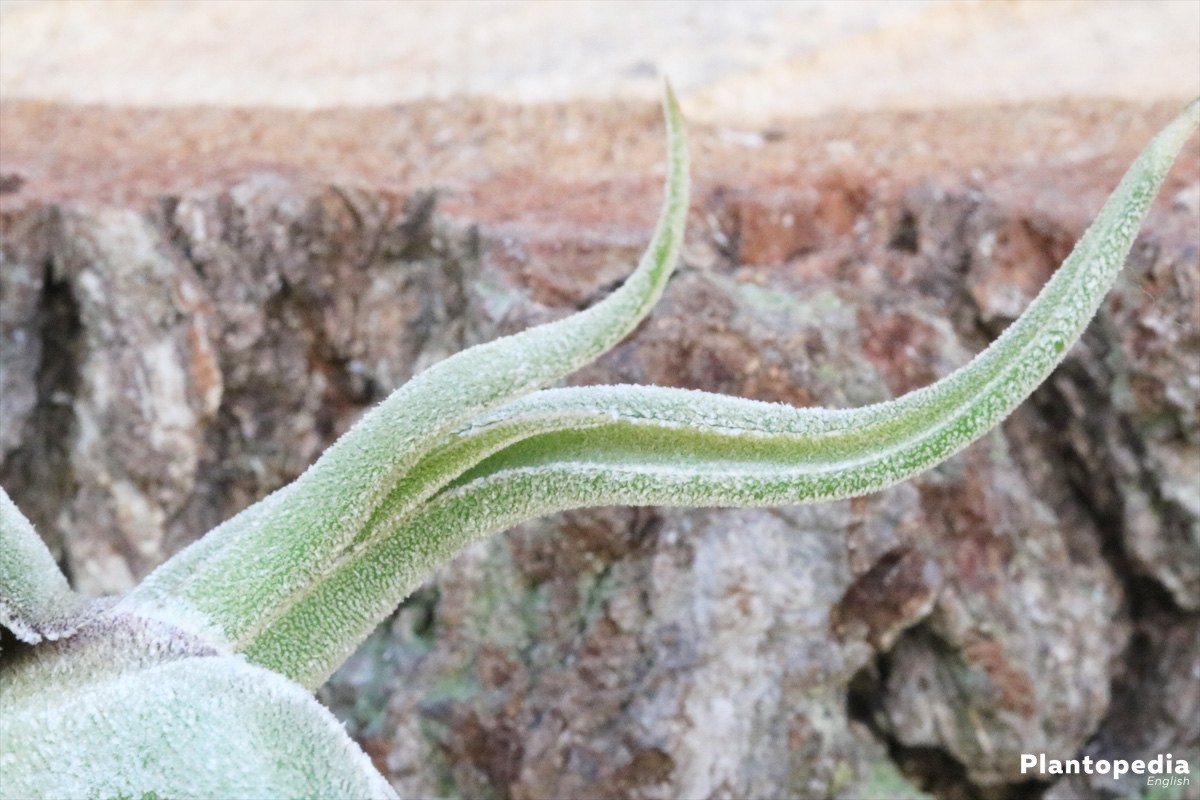
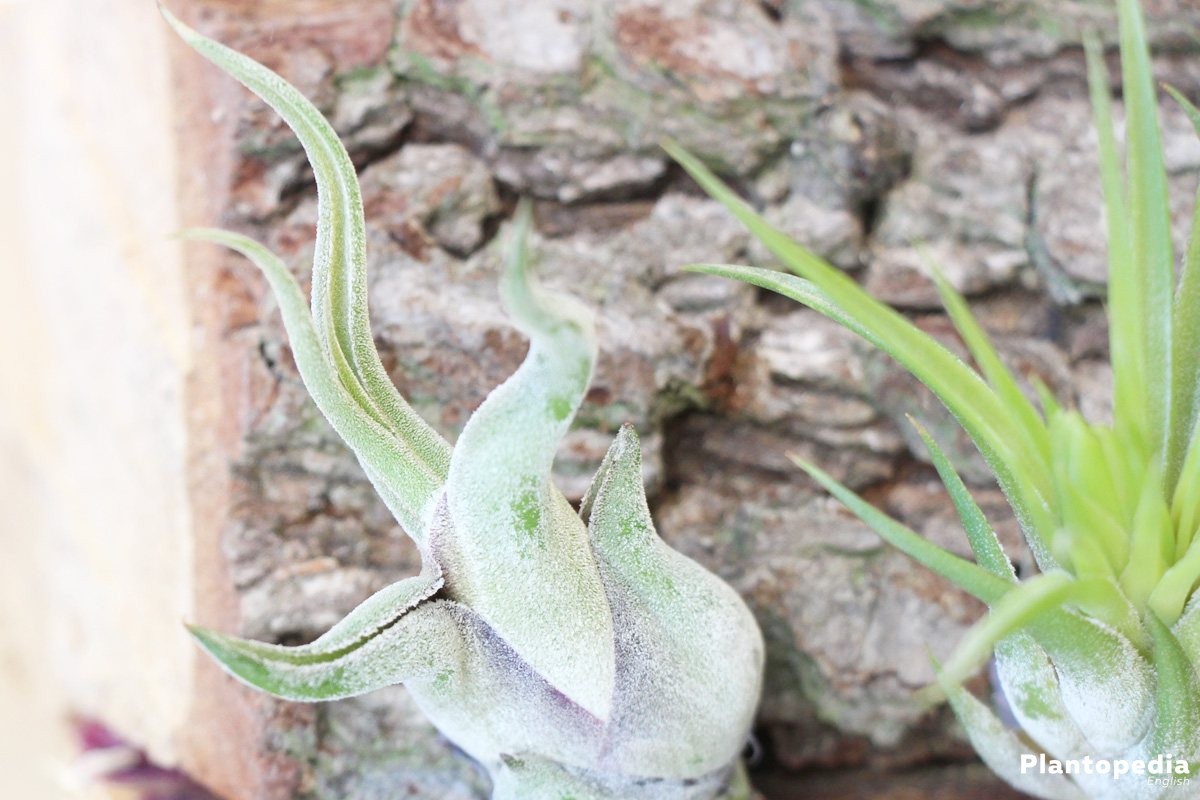
- grey-blue, snake-shaped leaves, arranged like rosettes
- heights of 15 to 40 cm
- Temperature minimum: 15 degrees Celsius
- Temperature maximum: 40 Grad Celsius
Tillandsia caput-medusae only uses its roots to cling to high trees or rocks. Since the exotic bromeliad does not require a substrate, there are many creative ways to cultivate it in living spaces. Thus, the head of Medusa with the bizarre snake-leaves perfectly puts itself in the limelight on branches, stones or cacti.
Care
Anyone who dares to adapt to its unconventional attitude, will easily meet the few requirements of this tillandsia, even as a debutant to hobby gardening. This care guide explains practically all the relevant details from the ideal location to the correct way of tying up, watering properly, fertilizing, overwintering and propagating.
Its distinctive characteristics include the fact that a Tillandsia caput-medusae acts as an ant plant in the wild. This does not mean that ants support its propagation by transporting seeds. In point of fact, the Tillandsia establishes a symbiotic cohabitation with ants by offering them a place of retreat. In return, the insects make a contribution to care by repelling pests and providing a natural fertilizer by the means of their faces.
Location
A Tillandsia caput-medusae pulls out all the floral stops, if it is assigned a bright location. A spot on the window with mild sunlight in the morning hours or early evening is ideal. In the case of blazing sun at a south window, shadowing should be available.
Temperature
A tillandsia likes to be cultivated at normal room temperatures all year round. The thermometer should not drop below 15 degrees Celsius. Since its temperature maximum of 40 degrees Celsius would be rather an exception for the climate in Central Europe, special precautions are not necessary.
Humidity
The head of Medusa reaches its optimum, when the location is dominated by a combination of warm temperatures and high humidity. A spot on the window sill in the bathroom or kitchen honors this bizarre tropical beauty with a vital growth. In other rooms, a humidifier, fountain or aquarium produce a minimum of humidity, which also benefits the gardener’s well-being. If you additionally spray your Tillandsia caput-medusae with soft water regularly, there will be no cause for it to complain.
Tying up
The substrate-free care for an epiphytic tillandsia requires an alternative way of cultivation. That way, the environment in its habitat is simulated by tying the plant up to an adequate support. As a rule, branches, cork boards or wooden blocks are suitable for this purpose. Long-lasting wood varieties such as robinia or yew are perfectly applicable. Vine branches, which are gladly used, should be steamed or heated in the run-up in order to destroy any pests inside.
At times, creative gardeners decide to use a fixation on cacti or other plants that also originate from South America. Since a Tillandsia caput-medusae is not at all choosy in this regard, you can let your imaginative ideas run wild. For fixation, the following three methods have proved to be very useful in practice.
Fixation with nylon stockings
Tying the tillandsia up using nylon stockings is one of the best tested techniques. The material is stretchy, stable and breathable, so it offers firm hold for the epiphytic plant.
This is how it works:
- cut a nylon stocking into horizontal strips with a width of 4-5 cm
- position the tillandsia on the support using a fine wire or a wire fram
- pass a nylon strip through the lower leaves in such a way, that a braided look is created
With a little flair, you will be able to knot the two nylon ends together. If a knot is not possible, staple the nylon to a wooden support or hook it up with some wire.
Gluing with silicone
On organic supports such as stone, the nylon stocking method does not work. In this case, stick the Tillandsia caput-medusae on there, using contact adhesive such as silicone. Please use special silicone for natural stone, since this contains only a small amount of acetic acid. Since the adhesive takes several hours to dry, you can use clips to fixate the head of medusa in the meantime.
Attaching with hot glue
This variant sticks the bromeliad to the support only temporarily. At the latest after 12 to 24 months, the glue has hardened in such an extent, that it will no longer hold the plant. If you decide to use a hot glue gun, please let the glue cool a little before applying.
Pouring
Spraying instead of pouring
Although a tillandsia does not stretch its root into a substrate, it is still dependent on regular water supplies. The root strands are designed to absorb moisture from the air. So spray the plant instead of pouring it.
This is how to do it right:
- spray the head of Medusa one to three times a week, depending on the environmental conditions at the location
- primarily use collected, filtered rain water or decalcified tap water
- do not wet the plant with cold water
If there is no access to collected rainwater, boil chalky tap water beforehand. As an alternative, fill a 10-liter bucket with normal water. Hang a cotton bag inside that is filled with 1 liter of peat. Within a few days, the peat extracts the lime from the water.
Fertilizing
The balanced nutrient supply of tillandsia causes controversial discussions among hobby gardeners. In the face of its comparatively slow growth, the consequences of an overdose are usually recognized too late. To avoid this danger, we recommend a restrained supply of nutrients.
Since the plant collects the most needed carbon in the form of carbon dioxide from the air, thanks to its aerial roots, it is only necessary to satisfy the needs of nitrogen, potassium, phosphorus and magnesium by means of fertilizer.
The following procedure has proven itself in practice:
- from April to September, add a liquid bromeliad fertilizer to the water weekly
- extend the fertilizing interval to 3-4 weeks from October to March
- dilute the dosage recommended for indoor plants to a 25-percent concentration
- spray or sprinkle the tillandsia with the nutrient solution
Please do not apply the liquid fertilizer in direct sunlight, since this could cause burns on the leaves. It is advantageous to temper the solution to 15 to 18 degrees Celsius. As darkness favors the uptake of nutrients, you should ideally administer the fertilizer during the evening hours.
Achieve flowering
Bringing to flower
If, despite all efforts, the head of Medusa keeps the flowers hidden, there is a simple trick to bring the tropical plant into flower. For this purpose, put the tillandsia with an overripe apple into a transparent plastic bag and close it tightly. The apple releases the ripening gas ethylene, which also has a beneficial effect on the willingness to flower.
The extent, to which the flowering of a tillandsia should be enforced, has to be considered. The plant flowers only once in its life and then dies. Besides that, the flower colors are much more intense if the plant blooms without any gardening intervention.
Trimming
The tillandsia does not receive a cut back. Dead, withered leaves are often released by the plant itself, so they can be plucked out. Alternatively, press down the wilted plant part to cut it off right on the basis with a sharp disinfected knife. The cutting can be powdered with stone powder or charcoal ash.
Overwintering
Since Tillandsia caput-medusae is cultivated all-season at room temperature, the care program changes only slightly during the winter time. As of now, adapt the water and nutrient balance to the changed conditions. Under the influence of dry heating air, the plant should be sprayed more frequently.
On the other hand, you reduce the nutrient intake by administering diluted liquid fertilizer at intervals of 3 to 4 weeks. It is important to make sure the plant is not exposed to temperatures below 15 degrees Celsius. Furthermore, a bright location is still indispensable.
Propagation
Cultivated indoor, tillandsia flowers occasionally and only at an advanced age, propagation by sowing seeds is not practicable. To make matters worse, the plant is not self-pollinating anyway. Using offsets for propagation is much more uncomplicated and promising.
A vital mother-plant produces sprouts for its continuity because it dies after flowering. These are layers with the same attributes. Spring is the best time for this action.
Proceed in the following steps:
- do not cut sprouts off the mother-plant before the leaves have reached a length of 10 cm
- place the layer in a pot with a substrate mixture of peat and sand
- moisten the substrate with lime-free water
- place a transparent cover over the propagator to create a humid-warm microclimate
Air the cover in a half-shaded spot on the window several times each day to prevent mold. Spray the sprout and substrate with lime-free water regularly. As soon as the first roots have developed, the young plant can be removed from the pot and tied up to a suitable support.
Rooting the sprout without substrate
Alternatively to rooting in peat sand, you can cultivate the layer substrate-free from the beginning. To do this, wrap wire around the base of the sprout. Put the end of the wire into a wooden block. Place it in a bright, not full-sunny spot on the window. The process runs faster in a heated room greenhouse at 23 to 28 degrees Celsius.
Spray the sprout with soft water regularly. The young tillandsia does not receive fertilizer before some roots have developed. From that time, the plant is mature enough to be tied up like an adult Tillandsia caput-medusae.
Pests
A tillandsia that is cultivated according to these care instructions is usually spared from diseases. Since, as an indoor plant, it has to do without the protection of ants that save it from pests in the habitat, problems could arise in this respect. It is mainly aphids that fall for the head of Medusa.
So please check the leaves for an infestation regularly. If the tiny, white, green, brown or black bugs spread there, an old tried and tested home remedy provides relief at an early stage of infestation. This is how to fight aphids.
- hose the infested plant with the sharpest possible water jet
- alternatively, wipe off the bugs with a damp cloth
- prepare a solution from 1 liter of boiled water and 1 table spoon of liquid lubricating soap
- spray the infested tillandsia at intervals of 2 to 3 days
To make sure the aphids do not spread to neighboring plants, we recommend isolating the infested Tillandsia caput-medusae until the plague is combated.