
The Aloe Vera is viewed as the real one among it’s species. Originating from Arabia, it is now cultivated in tropical and subtropical areas such as the Caribbean and parts of Asia. Aloe Vera has not only an oriental flair with occasional red or yellow inflorescence, but also impresses with its healing and cosmetic effects. Its fleshy leaves are among the evergreen plants, which have now also found their way into the domestic gardens of Europe. With this care guide you can enjoy the Aloe Vera all year long and multiply it as you like.
This plant feels well in a flowerbed, but also in a flowerpot. The rare inflorescence is characterized by a slightly sweet, exotic smell that infatuates the senses and enchants the environment with its oriental character. It is not resistant to the winter cold, but in a frost-free place, it can easily be overwintered, so that in the following years from spring to autumn it will fill your garden or balcony with a very special charm. Or maybe you would like to make your own skin and wound creams in the future? Then you should know how you can easily multiply the Aloe Vera. In these detailed care instructions for the Aloe Vera you will find everything you need to know about care, pest control and multiplication.
Plant profile
Contents
- Family: asphodelaceae (formerly known as xanthorrhoeaceae)
- Subfamily: asphodeloideae
- Genus: Aloe
- Species: Aloe Vera
- Trivial names: Aloe Vera, Aloe Vulgaris
- Origin: Arabian Peninsula
- Agave-like plant with prickly foliage
- Height: 40 centimeters to 100 centimeters
- Flowering period: spring
- Red or yellow inflorescences with slightly sweetish, oriental scent
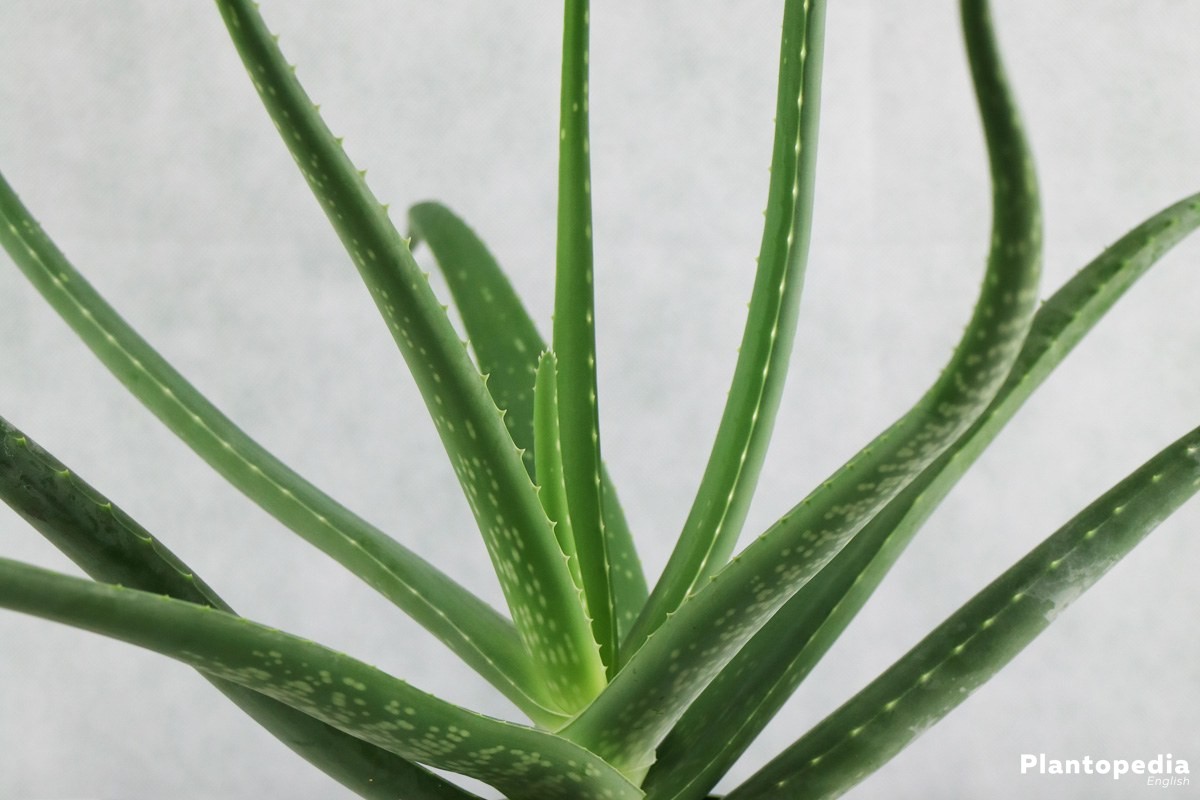
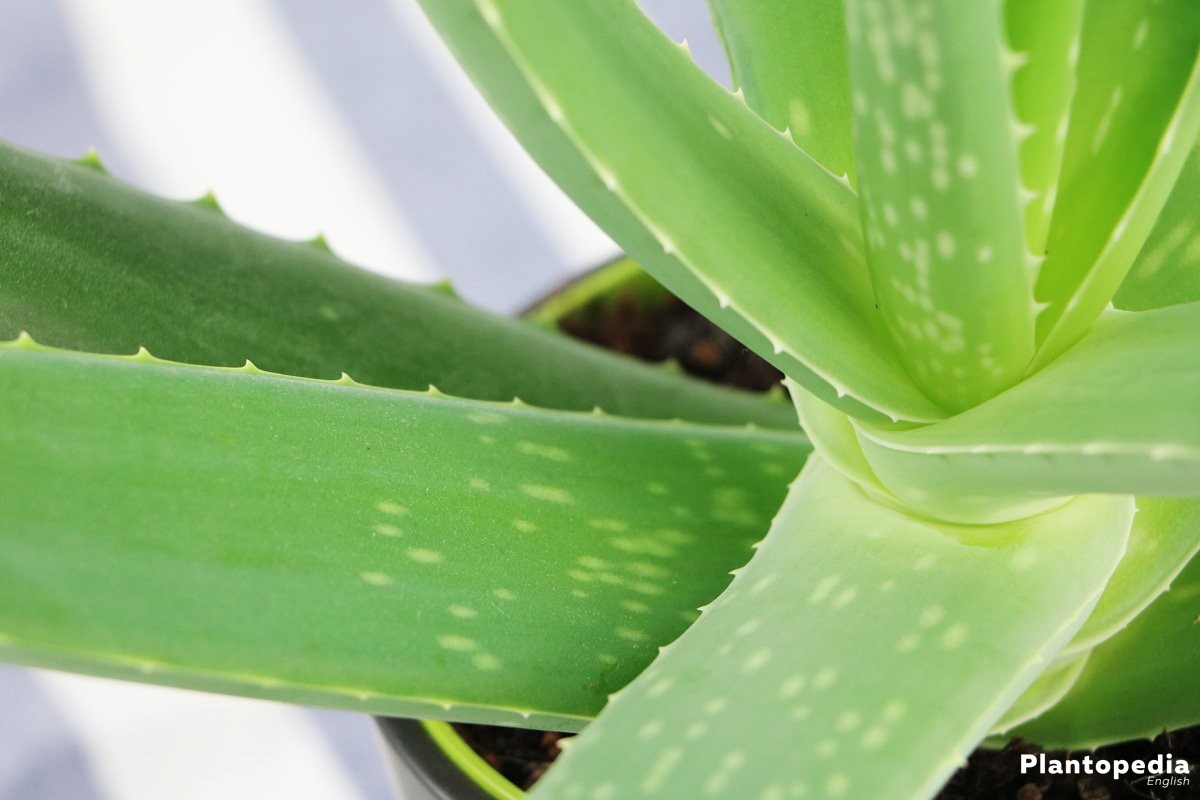
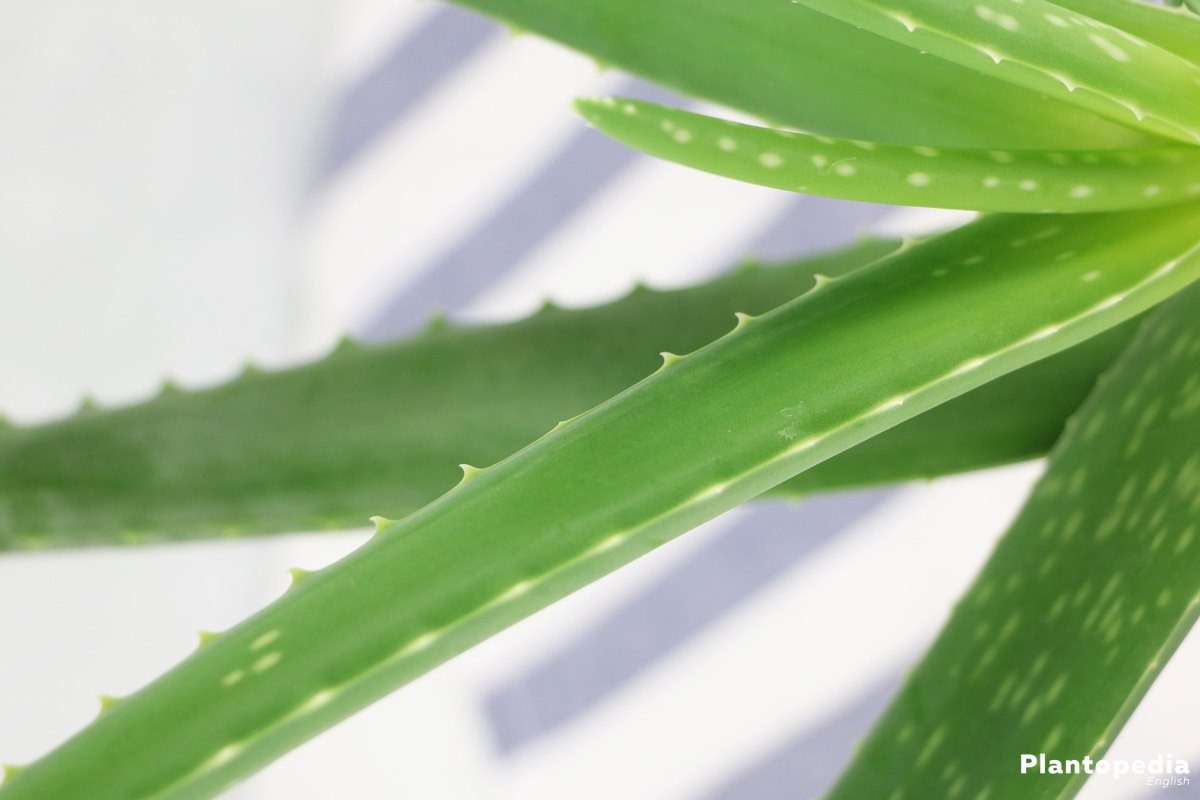
- Gray-green to reddish lanceolate-tapered leaves
- Ornamental and healing plant
The Aloe Vera was already mentioned as a crop in the time of ancient Egypt. The Swiss botanist named it “Aloe Vulgaris” in 1620. The Aloe Perfoliata, the later Aloe Vera was first described by the scientist Carl von Linné in 1753. Finally, the English gardener and botanist Philip Miller first described this plant as “Aloe Vera Barbadensis (Miller)” in 1768, as there have already been many different types of the Aloe by then. Today, there are about 300 species, the Aloe Vera Barbadensis (vera = true, genuine) being the “real” one.
How to care
The Aloe Vera is an unpretentious plant that doesn’t need much attention, although it doesn’t originate from the European region, but is as a so-called desert plant originally used to exclusively warm temperatures.
Location
The Aloe Vera needs a warm, sunny and dry location during outdoor cultivation. This is the basic prerequisite for a splendid, healthy growth. A semi-shaded location can also be chosen as long as the temperatures are stable and consistently warm.
Soil condition
For the planting in the garden it is advisable to choose a soil condition, in which the Aloe Vera feels particularly well and rewards you with generous growth as well as possible colourful inflorescences. The soil should be in a condition as follows:
- containing minerals
- loamy or sandy
- chalky, if loamy or sandy soil is not given
- good permeability
- soil pH value of 6.0 to 7.2.
You should take care that water can drain well so that the soil can properly dry off. The Aloe Vera does not tolerate waterlogging, which can quickly lead to root rot. A soil that is close to a pond or a similar stretch of water is unsuitable.
Substrate
A nutrient-rich substrate provides an important basis for an undisturbed and vigorous plant growth especially for tubing and flower pot plants, since the natural nutrient supply is usually not or only slightly given here.
A nutrient-rich substrate is one of the foundations for successful plant growth. It is recommended to use high-quality products, such as the CL Classic Perl. In addition to the nutrient supply, white peat or perlite provide for more permeability. It keeps the soil loose and also improves the stability of the plant structure. Instead of peat, environmental-conscious hobby gardeners can use “CL Classic T”, which is based on natural clay, bark mulch as well as wood fibers and coconut peat.
Planting
Planting time
Plants like the Aloe Vera that are sensitive to cold, should not be planted as long as the ground is still freezing. A planting time starting in the middle of May is just perfect. Then the Ice Saints are over and ground frost is no longer to be expected. The Aloe Vera can be covered with glass or a protective foil on cold nights if you want to plant it earlier in the year.
Planting in a bed
For an optimal planting of the Aloe Vera, a soil preparation is necessary. Please loosen the soil with a hook in a diameter that is at least twice as big as the root ball circumference, remove stones, weeds and root remnants. Now you can start digging in the loosened up soil. The depth should be determined in such a way that the Aloe Vera reaches completely into the hole up to the first row of the leaves. But before you plant it, you should lay the ground with pebbles. These are a perfect drainage and allow excess water to sink into the underlying soil, without the roots standing in backwater.
Now you should mix the soil that you use to fill up the hole with about half as much sand. Now put the Aloe Vera into the soil hole and fill it up with the soil-sand mixture until the roots are completely covered.
Make sure that you press the soil regularly without affecting the roots and damaging them. You should pound down the top layer of the sand-soil mixture to allow the plant to become more stable and to not dissolve in the first wash. As an alternative to sand, you can also mix the soil with clay in a 50:50 ratio.
Finally, spread a circle of pebbles around the plant. These will prevent the rapid evaporation of the pouring water or the rainwater. Bright stones will also reflect the sunlight, so that the chance of burning after watering is reduced to a minimum.
Here at a glance:
- Planting distance for several Aloe Veras: three times the plant circumference – if the plant is 10 centimeters wide, the planting distance should be at least 30 centimeters
- Cover the floor as well as the upper layer with pebbles as drainage
- Use the sand or clay to enrich the bedding
- Firmly press the ground
- Place another layer of pebbles on the top layer of soil as a sun protection and to prevent water evaporation
- To feed the plant with substrate, push the top pebbles aside, distribute the substrate underneath the upper soil layer and than return the pebbles
- Pour the Aloe Vera so slowly that the water will consistently spill into the soil and no waterlogging will form in the upper area.
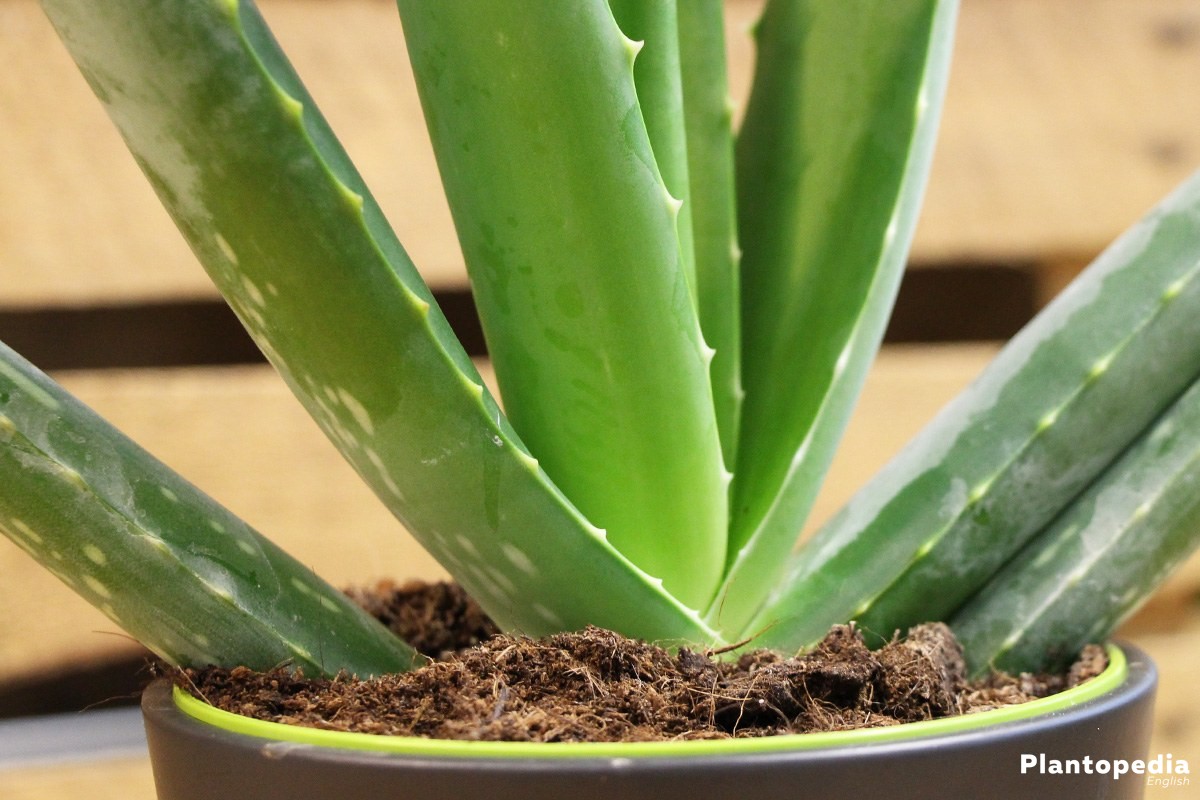
Planting in a pot
Planting in a flower pot or garden bucket is quite similar to the process of planting in a bed. Alternatively, you can use clay shards instead of pebbles for soil drainage here.
When planting in a pot, you should definitely use a substrate. It is best to place a water-permeable and inorganic fleece over the drainage and evenly spread the substrate on top so that it can be directly picked up by the root tips.
Make sure to leave about two centimeters space above the soil at the upper edge of the pot. This prevents the wetted soil from running over the top edge when you pour the plant.
The pot size should not be too small. Under optimal conditions, the Aloe Vera grows rapidly and takes up a lot of space. However, the plant can only properly grow if the pot really provides the space. Therefore, the bigger the pot, the more comfortable the Aloe Vera feels when its growing.
Watering
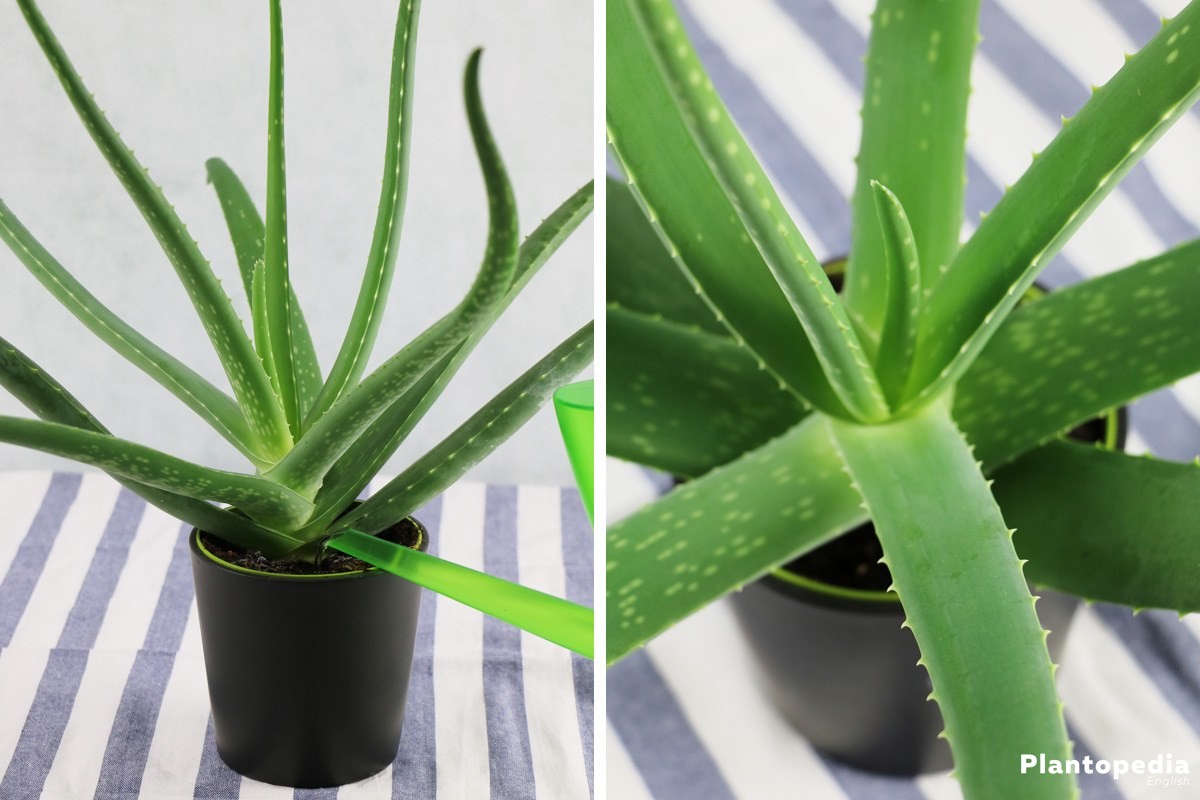
As much as the Aloe Vera is used to hot and dry fields and often does not require water for a period of several months, regular watering is recommended. In dry periods, the Aloe Vera draws its moisture from the fleshy leaves. However, this inhibits its healthy and splendid growth. To prevent this, this Aloe species should always have a moist root ball during spring to late summer. You can test with your thumb, whether the plant needs water. If the surface can be pressed down a little bit, the soil is still moist inside. If the surface does not drop at least two to three centimeters under your thumb pressure, it should be watered.
- in winter however, an occasional pouring is sufficient
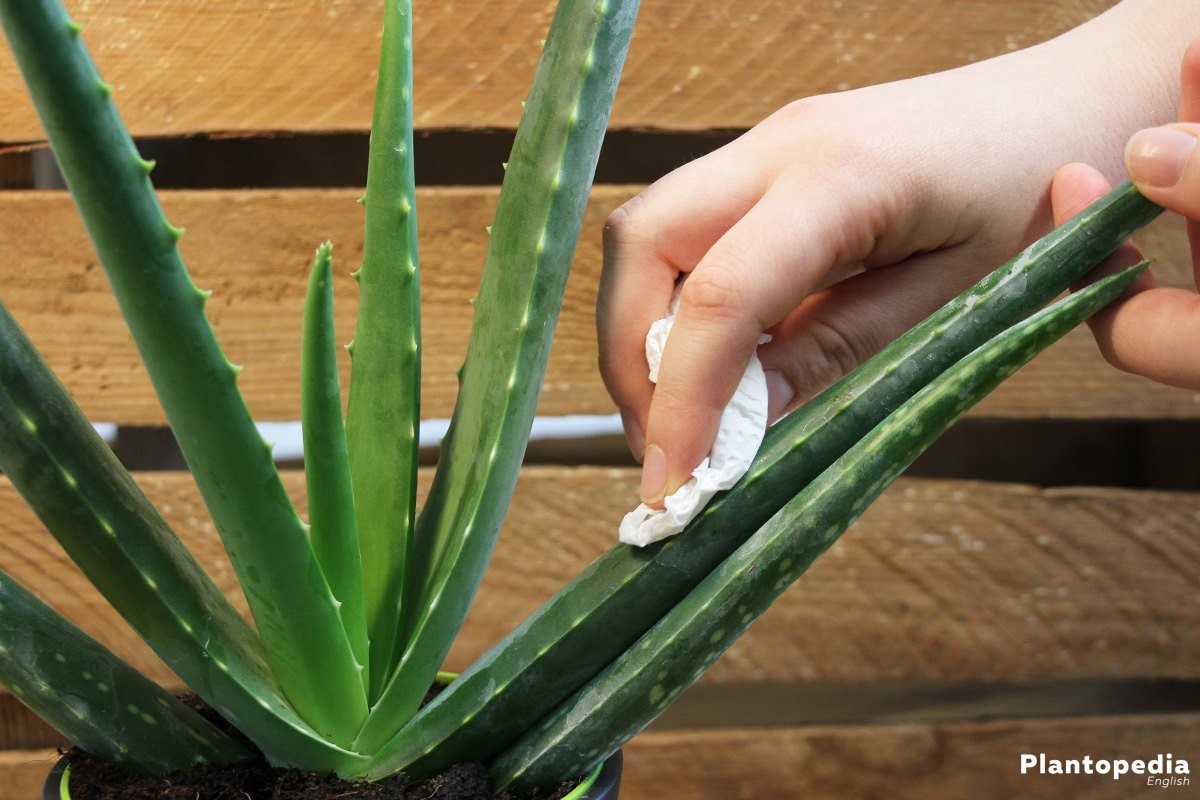
- avoid wetting the leaves
If the plant is in a pot, a floor plate would be the perfect completion. If you have watered it too much, the plate can drain excess water. But you should remove the plate water immediately, so that no water can penetrate into the pot from below, because otherwise waterlogging may be formed and the plant may start to rot.
Fertilizing
As a rule, the Aloe Vera should be regularly fertilized to add enough nutrients and minerals. If a substrate has already been added during the planting, additional fertilizers can be dispensed within the first four to six weeks.
The following recommendations apply to fertilization:
- Fertilizer: Universal fertilizer or specific succulent fertilizer
- Fertilizing times: without previous substrate you should do it right after planting
- with substrate implantation you should do it about four to six weeks afterwards
- Fertilizing plan: every two to three weeks in potted plants – once a month for bed planting
- After the fertilization, you should pour the Aloe Vera as usual
- The last fertilization should take place around the end of August, about six to eight weeks before the wintering or cold night temperatures.
Cutting
It depends on various factors, whether an Aloe Vera should be cut. If you want to control the growth and prevent a bigger extent, it can be trimmed.
If you want to use the Aloe Vera for medicinal purposes or for cosmetic products, then a cut is necessary too. In some cases, a pest infestation may require a leaf cut. For this purpose, the leaves close to the ground should always be cut first.
If there is an inflorescence, it should be cut quickly after the flowering period.
Wintering
If there are no constant temperatures of at least 10 degrees Celsius outside, it is time to put the Aloe Vera to a warmer place. This may require planting it out of the garden bed.
- Wintering begins from outside temperatures of less than ten degrees Celsius
- Wintering is perfect in a bright room at temperatures between 12 and 15 degrees Celsius
- Alternatively, a greenhouse can be used for wintering
- Occasional watering every three to four weeks
- No fertilization
Test your Aloe Vera for pests or rotting during the wintering.
About six weeks before the end of wintering, you should accustom the plant to warm temperatures and gradually increase the temperature until it matches the average outside temperature.
Division
Since the inflorescences of the Aloe Vera are rare, it Is difficult to get the seed. However, a multiplication with offshoots or secondary plants is also possible.
Seeds
If you are lucky to have seeds, you can multiply the Aloe Vera throughout the year. The following process should be followed:
- Required temperatures between 15 degrees Celsius and 20 degrees Celsius
- The use of a special cultivation tray is recommended. Alternatively, a small flower pot is enough
- Use nutrient-poor culture soil as well as substrate
- Fill the pot with it and moisten the substrate with some lime-free water
- Press the seeds into the ground and cover them with soil
- Location: sunny – medium warm
- Pouring: keep the soil slightly moist – do not pour it too much
- Germination period: about three to seven weeks
- Increase the space between the plants when they reach a size of about 15 centimeters
- Later you should replant them to a larger pot
Cuttings
The perfect time for the extraction of cuttings from the Aloe Vera is after the wintering. When the plant is three years old, it usually forms so-called short-lived daughter plants on the trunk. These can be carefully broken off from the main leaf or cut off with a sharp knife. In order for the cuttings to root, proceed as follows:
- To avoid mould formation, allow the cuttings to dry for several days in the air or dust the cutting edges with wood charcoal powder.
- Plant the cuttings in a special cultivation box or a pot with a cultivating soil, a cactus substrate or an soil-sand mixture
- Put the planted cuttings in a sun-protected place at about 19 to 22 degrees Celsius
- Pour sparingly in a weekly rhythm
- Don’t allow waterlogging to form and don’t water the leaves
Diseases
If you have a strong Aloe Vera, which has always been optimally maintained, usually has no problems with diseases. However, there is no guarantee for this and diseases can occasionally affect the Aloe Vera even when best care is taken.
Root rot
Watering the plant too often an in a wrong way, may lead to a root rot on the Aloe Vera. The drying of the root should help in such a case. The root must be released from the moist soil and damaged, rotten root parts must be cut off. Subsequently, the plant should be replanted in new, dry soil.
Leaf discolouration
If unusual discolourations occur, this can be a sign of dryness. Contrary to the root rot, this disease is shown after a long-lasting drying time. In this case, the plant automatically draws moisture from the leaves, which lose an enormous amount of moisture when they are overstrained, and also their elasticity as well as the regular leaf colour will fade. With substrate, the supply of nutrients, and regular pouring, this disease will usually heal very well.
Pests
Pests can occur on the healthiest and best cultivated plants. With the right method of control, you can quickly become a master and keep your Aloe Vera from the worst effects.
Mealybugs
As soon as you see white nests and small insects on the leaves, it could be mealybugs. They will suck on the leaves and withdraw valuable nutrients from the Aloe Vera. This can degrade the plant and, in the worst case, even kill it. Rapid action is required. Sometimes a strong water jet is enough to expel the pests.
Chemical pesticides will eradicate even the most stubborn mealybug. However, if Aloe Vera is to be used for consumption or cosmetic purposes, you should not use any chemical products. A repeated rubbing with alcohol will reliably scare off the pests too.
Root aphids
The root aphids are similar to the mealybugs: white nests with small insects. The only difference is that these are not on the leaves, but sucking on the roots. Typical first signs are usually white spots on the inside of the pot or in the soil right next to the roots.
You can fight them the same way you fight the mealybugs, but the plant must usually be removed for this purpose. It is more uncomplicated with a pest control agent that is mixed into the water. It is available both on a biological as well as on a chemical basis.


